Press Sample
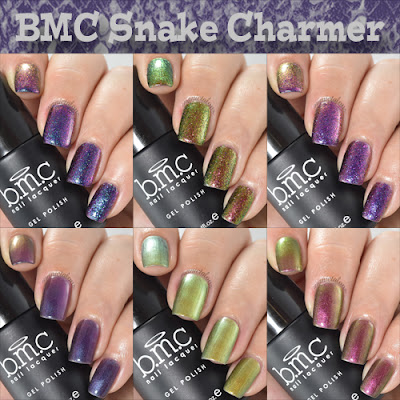
Hello Loves! As much as I love my gel polishes, at this point it is hard for me to get super excited about a polish. You can imagine that after swatching hundreds of colors, they all start to look the same, right? Well, I have a collection to show you today that really got my heart pumping. I received the package in the mail and started swatching them less than an hour later! This is the Bundle Monster Snake Charmer Collection. Six fabulous, sinfully shifty multichromes! Let me tell you, these little bottles of magic do not disappoint.
The Snake Charmer Collection consists of two sets of three polishes each. Set 1 is made of up Blue Venom, Copperhead Charm and Slitherine. These three polishes are multichrome flakies in a clear base. They apply like a glitter polish and build to full coverage with amazing shift. Like glitter polishes, application can be a bit tricky, but it well worth it in the end. For these swatches, I started with a thin layer. The second coat was a little thicker but I still had gaps in coverage. I added a third thin coat that evened everything out. In hind sight, two regular coats would have provided the same coverage. These are not swatched over a black base. :) Ready to see them?
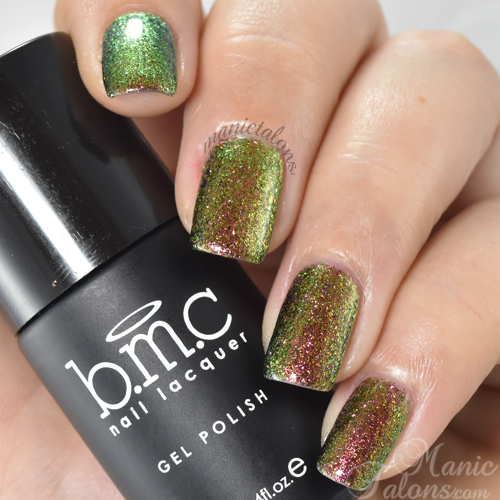
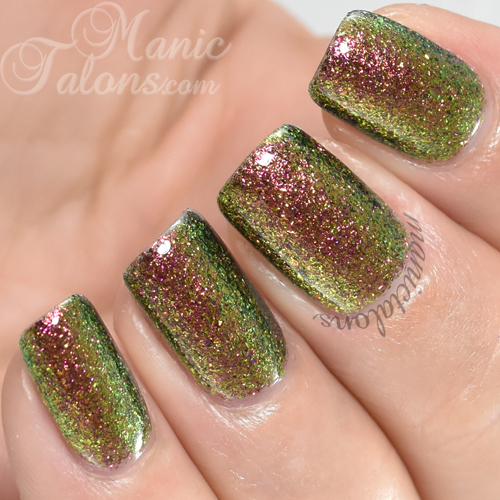
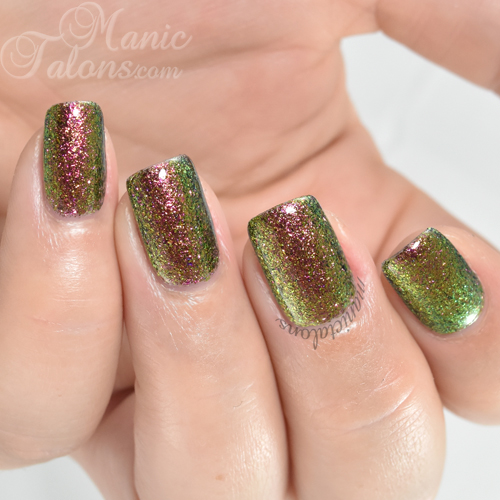
First up is Copperhead Charm. This is the one color in the whole collection that reminds me most of a snake. It shifts through red, brown, gold and green. So freaking pretty! I feel that it is also the shiftiest of the polishes in Set 1. Just look at all those colors!!!
The next polish in Set 1 is Blue Venom. This one shifts through teal, blue, and purple with a coppery flash at extreme angles.
Slitherine is the final shade in Set 1 of the Snake Charmer Collection. She goes from blue to purple with a little copper or gold at extreme angles. I actually found this one to be very similar to Blue Venom and had a hard time telling the swatch sticks apart before I labeled them.
Let's take a look at Set 2 from the collection: Fangtastic, Give Me a Hiss and Medusa. The polishes in Set 2 are made with pigments instead of flakies. They are much smoother and tons easier to apply. I swatched three coats for each of these, but they would offer full coverage in two if I used regular layers instead of super thin. Surprising fact - I tried these over a black base and found they didn't shift as much as they do on their own. So all of these are swatched over my natural nail with no black base.
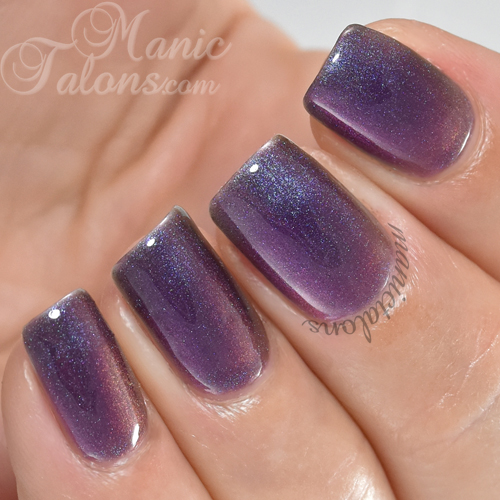
Fangtastic shifts through blue, purple and red with a gold flash at extreme angles. I found this one the most difficult to photograph. The purple and blue wanted to blend together on film. In person, the shift is there but is not as pronounced as some of the other polishes in the collection. So if you like a little shift but don't like your polish dancing all over the place, Fangtastic is your color.
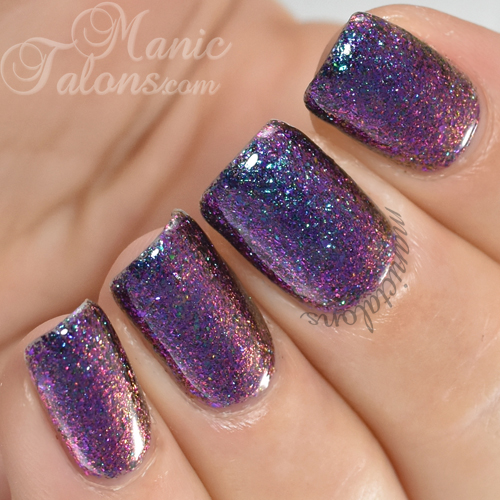
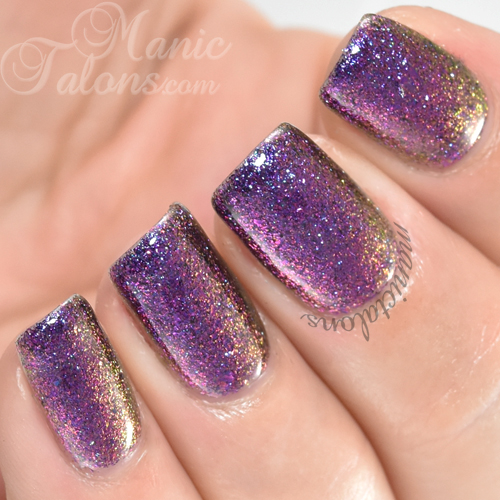
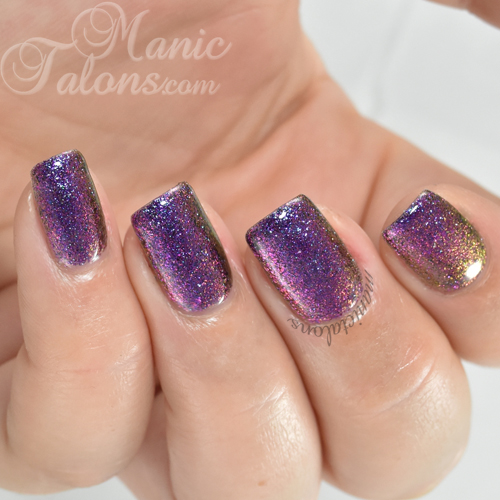
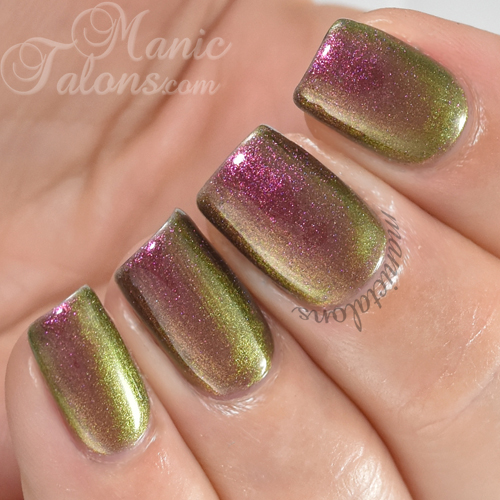
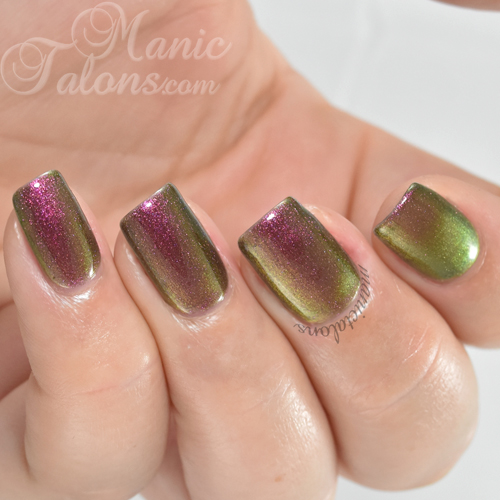
Give Me a Hiss is my current favorite of the collection and the one I'm still wearing. I've had so much fun blowing people's minds at the salon with this one. They keep looking at my nails like they're on a psychedelic trip. Its so funny how many of the finishes we see in the nail world that blow minds for those who don't follow a million blogs. But I digress. Give Me A Hiss has an incredible range of colors. It shifts through purple, red, copper, gold and green...hitting every color in between. Every time I look at my hands, I see a different color. My camera didn't capture them all.
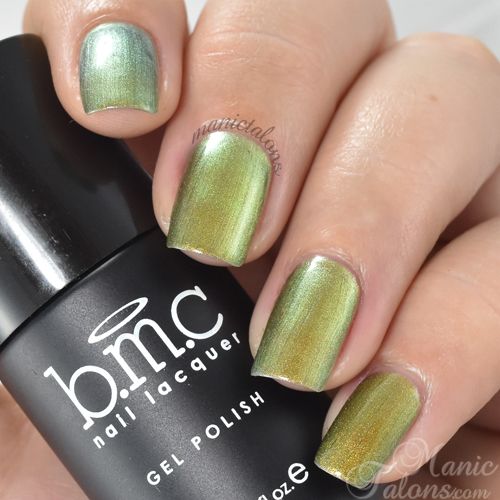
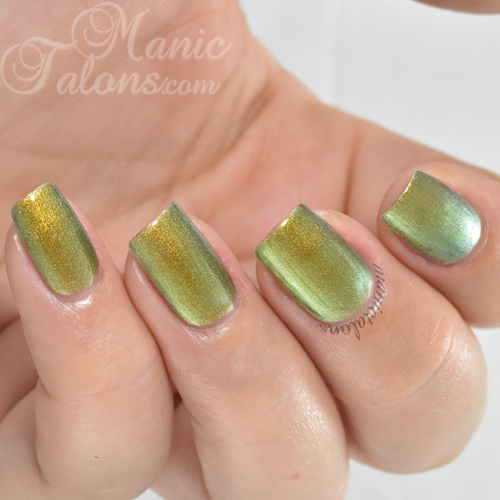
Finally, poor little Medusa is the odd ball of the group. But don't let her fool you...she has bite! Medusa shifts from gold to green with blue/green at extreme angles. I also found her to be the most unforgiving when it comes to showing flaws in my nails, but I think that's due to the lighter color. Oops. Now you know my nails aren't perfect. lol
So there you have it - the amazing Snake Charmer Collection of Gel Polishes from Bundle Monster. Before I go, I want to talk a little about the price. Bundle Monster is known for affordable gel polishes. These are also affordable in my opinion, but they are priced higher than we are used to seeing from Bundle Monster ($13.99 each or $34.19 per set). That might be a shock to some of you, so let me touch on why. In my experience through working with a few Indie companies, the pigments and flakies used to make these amazing shifters are super expensive compared to their non-shifty counterparts. Unfortunately, the result of more expensive ingredients is a higher priced polish. I fully believe they are worth the extra cost. I have tried several duochrome and multichrome gel polishes over the years and these have the best shift I have seen hands down. If you need them but can't justify purchasing them all (trust me, you need them), hopefully my pictures and review will help you narrow it down to the best colors for you. :)
These collections are not on Amazon yet, but you can buy them direct through Bundle Monster's Website here.
~Michelle
*The Snake Charmer Collection Polishes featured in this post were provided by Bundle Monster for my honest review. All links within this post are courtesy links and do not benefit ManicTalons.com.
Read more ...

