Thursday, January 30, 2014

Not One Stroke Flower Nail Art

Purchased by Me

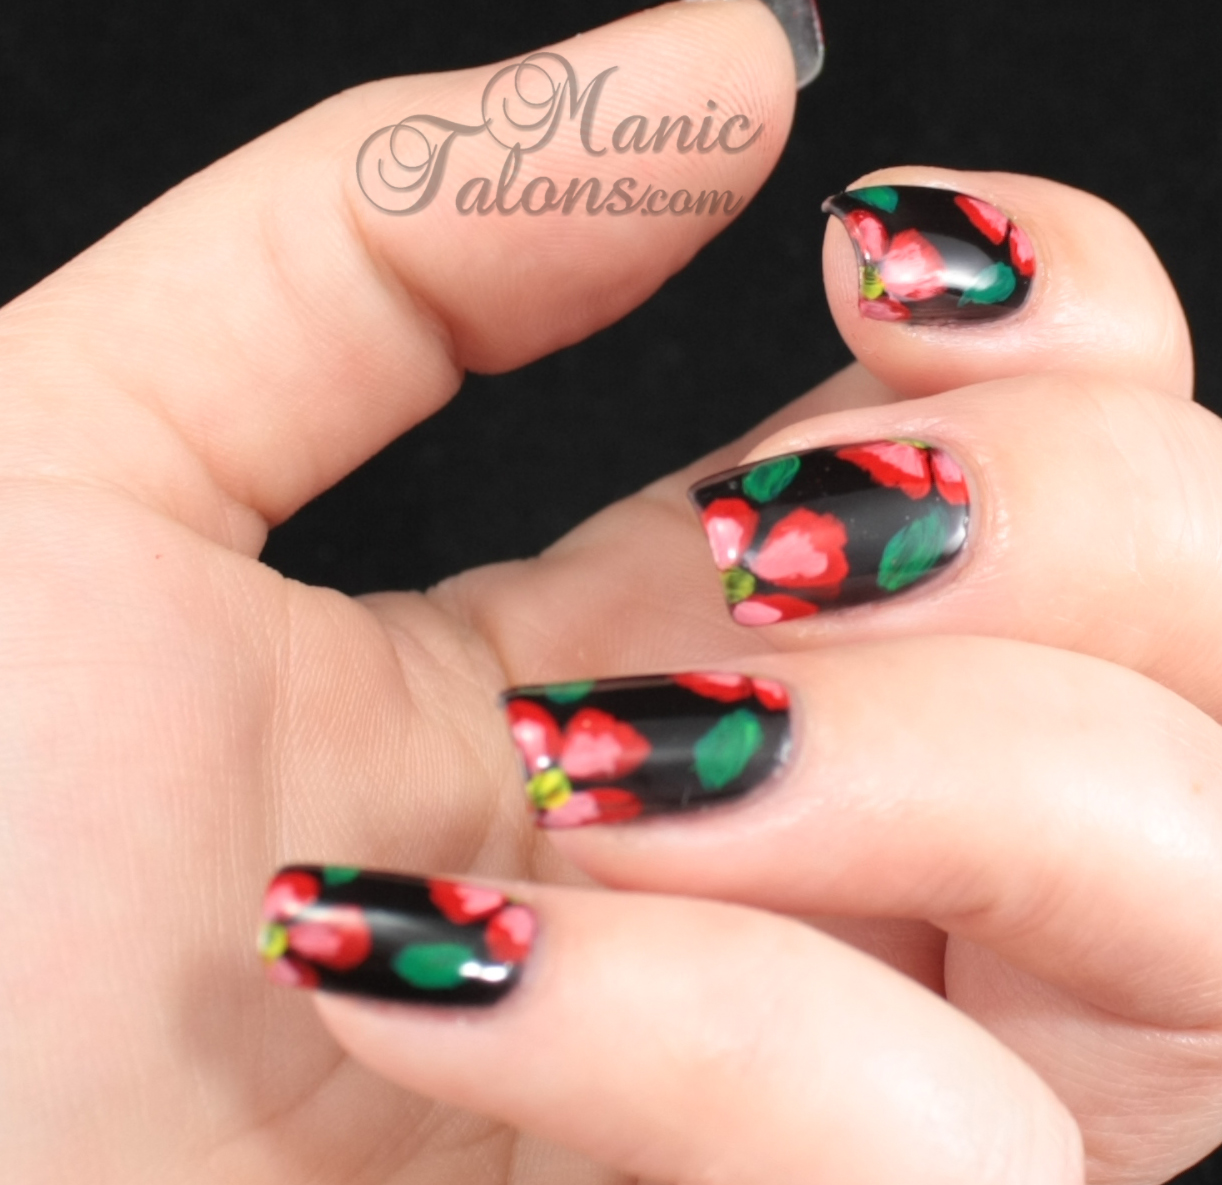
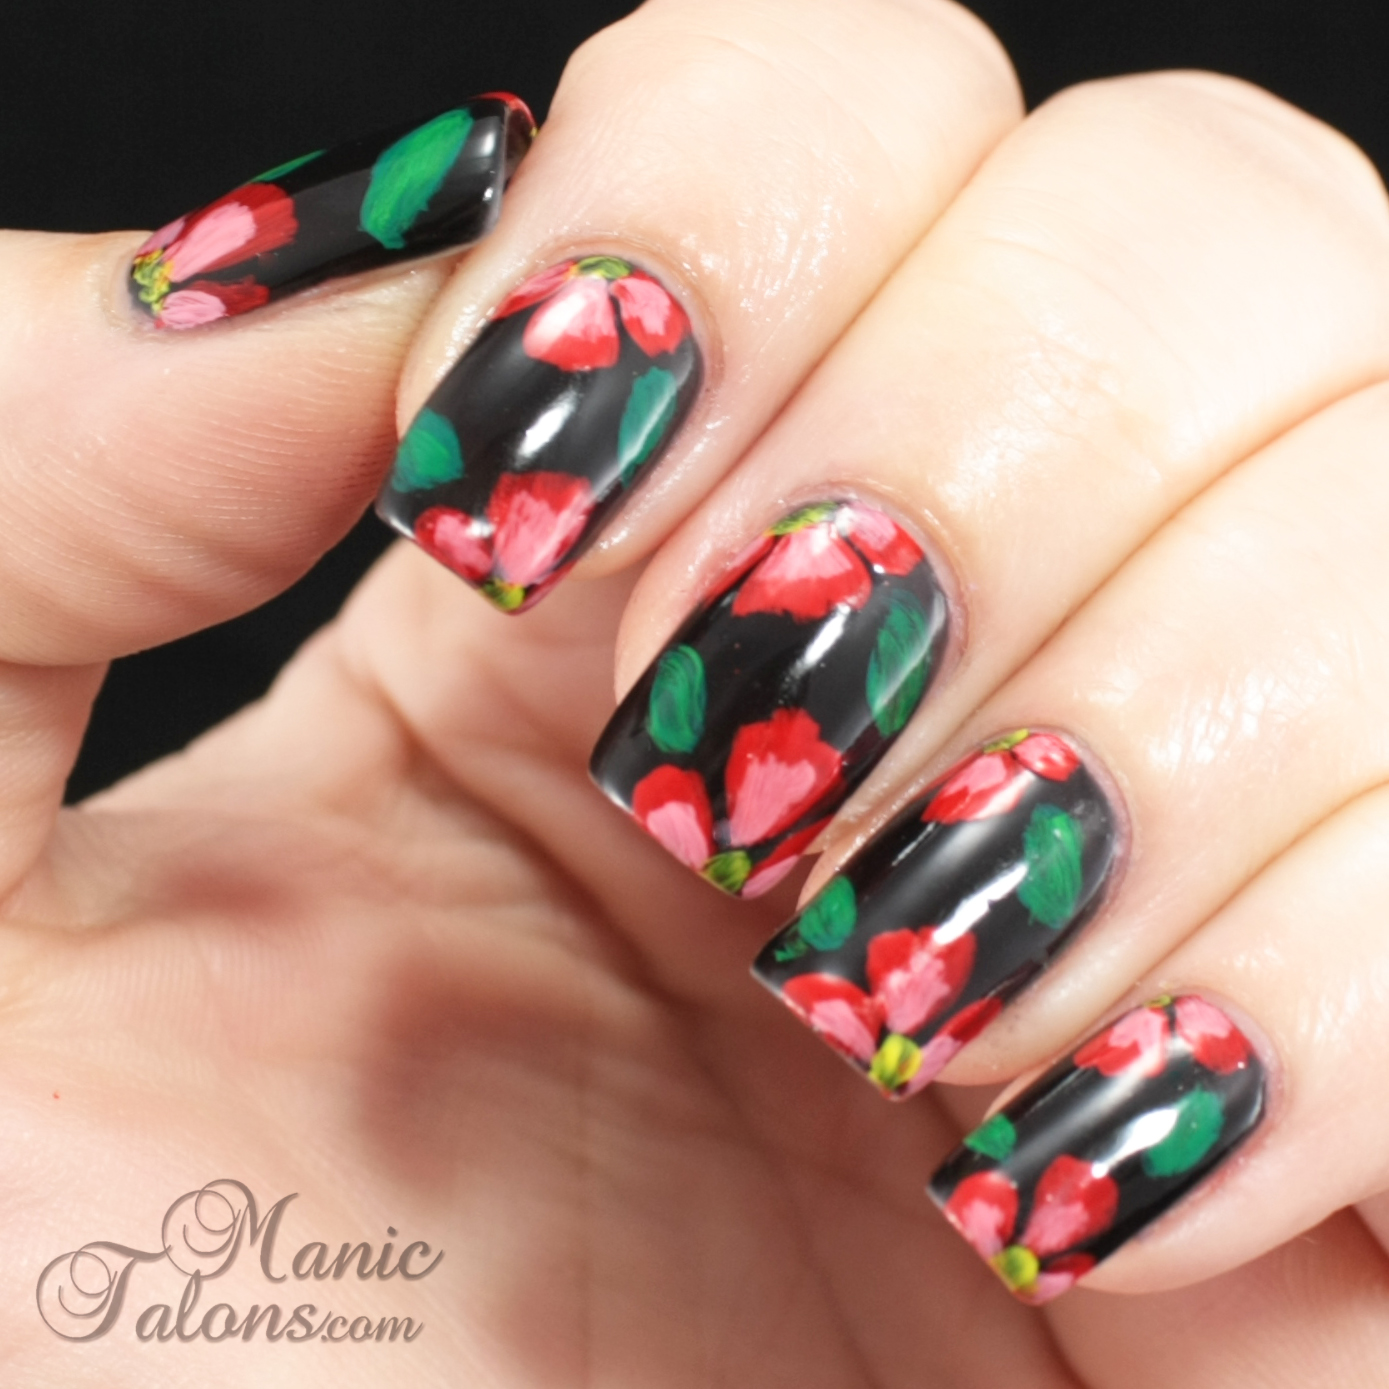
Hello Loves.  So I got the bright idea that I would do a one-stroke flower manicure.  I have tried this technique a few times before and failed, but I was feeling brave so...yeah, I failed again.  I'm convinced after watching a million youtube tutorials that my brush is to blame.  After getting frustrated and almost throwing the brush across the room, I decided to say the heck with it and go back to what I know: layered flowers.  I absolutely love how this one turned out.
Freehand Acrylic Flowers Nail Art

For this mani, I started with a base of Couture Gel Nail Polish Little Black Dress.  This is my go-to black gel.  I love the depth of the polish and that it is completely opaque in three thin coats.  I have swatched this one before, but since it was before my new lighting setup, I snapped another picture. :)
Couture Gel Nail Polish Soak Off Gel Polish Little Black Dress Swatch

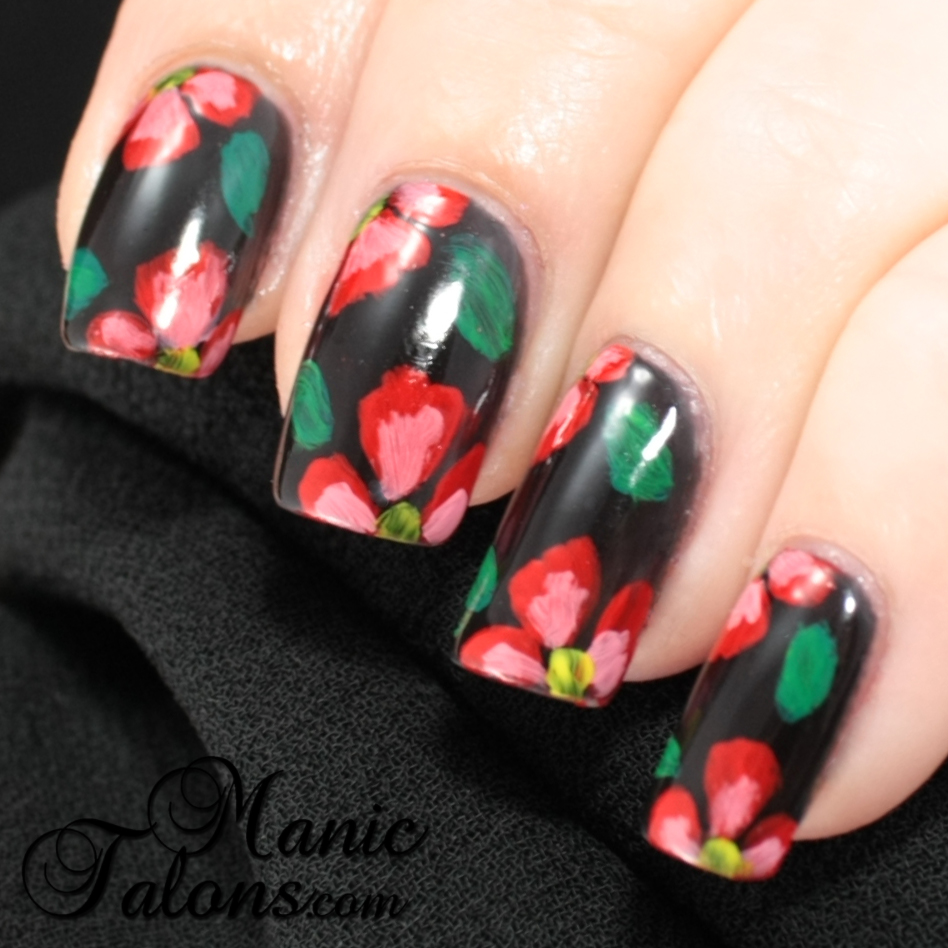
I then used a thin nail art brush and acrylic paint to freehand the flowers.  I started with the red petals and then went back and added the pink to the inner portions and dabbed a little yellow on for the center of the flowers.  The leaves are a dark green acrylic paint with a lighter green layered on top to highlight parts.  Simple, yet so pretty.  :)
Freehand Acrylic Flowers Nail Art

This mani is NOT topped off with a gel top coat.  I used Oh So Wet regular polish top coat instead.  It is a big of a an experiment.  The last time I did a manicure with acrylic paint sealed with a gel top coat ended up being a disaster.  Once the gel started to wear thin on the tips, water was able to penetrate the layers and the acrylic paint turned to mush.  The mani only lasted a few days before the top layer lifted and chipped off.  Since I have found that RNP wears like iron over a complete SOG mani, I'm hoping this one will last without the gel top coat over it all.  I've been wearing this one for 5 days now and so far it still looks perfect!  I did apply a gel top coat over the black base before the art work.

Here are a few closer shots.  :)
Freehand Acrylic Flowers Nail Art

~Michelle

Read more ...

Tuesday, January 28, 2014

Tutorial: Simple Dry Marble Technique

Purchased by Me


Hello loves!  As I mention in my last post, I put together a quick tutorial on how I did this dry marble base for my Mani Using Three Purples. I hope you enjoy the tutorial.  As always, if there is anything I need to clarify, leave your questions in the comments and I will do my best to answer them.  :)


~Michelle


Read more ...
Sunday, January 26, 2014

Stamping Challenge: Mani Using Three Purples

Purchased by Me

Hello Loves.  I decided to give the Adventures in Stamping Sunday Challenge a try this week.  I'm not in love with the result, but I guess I can't love them all.  :)

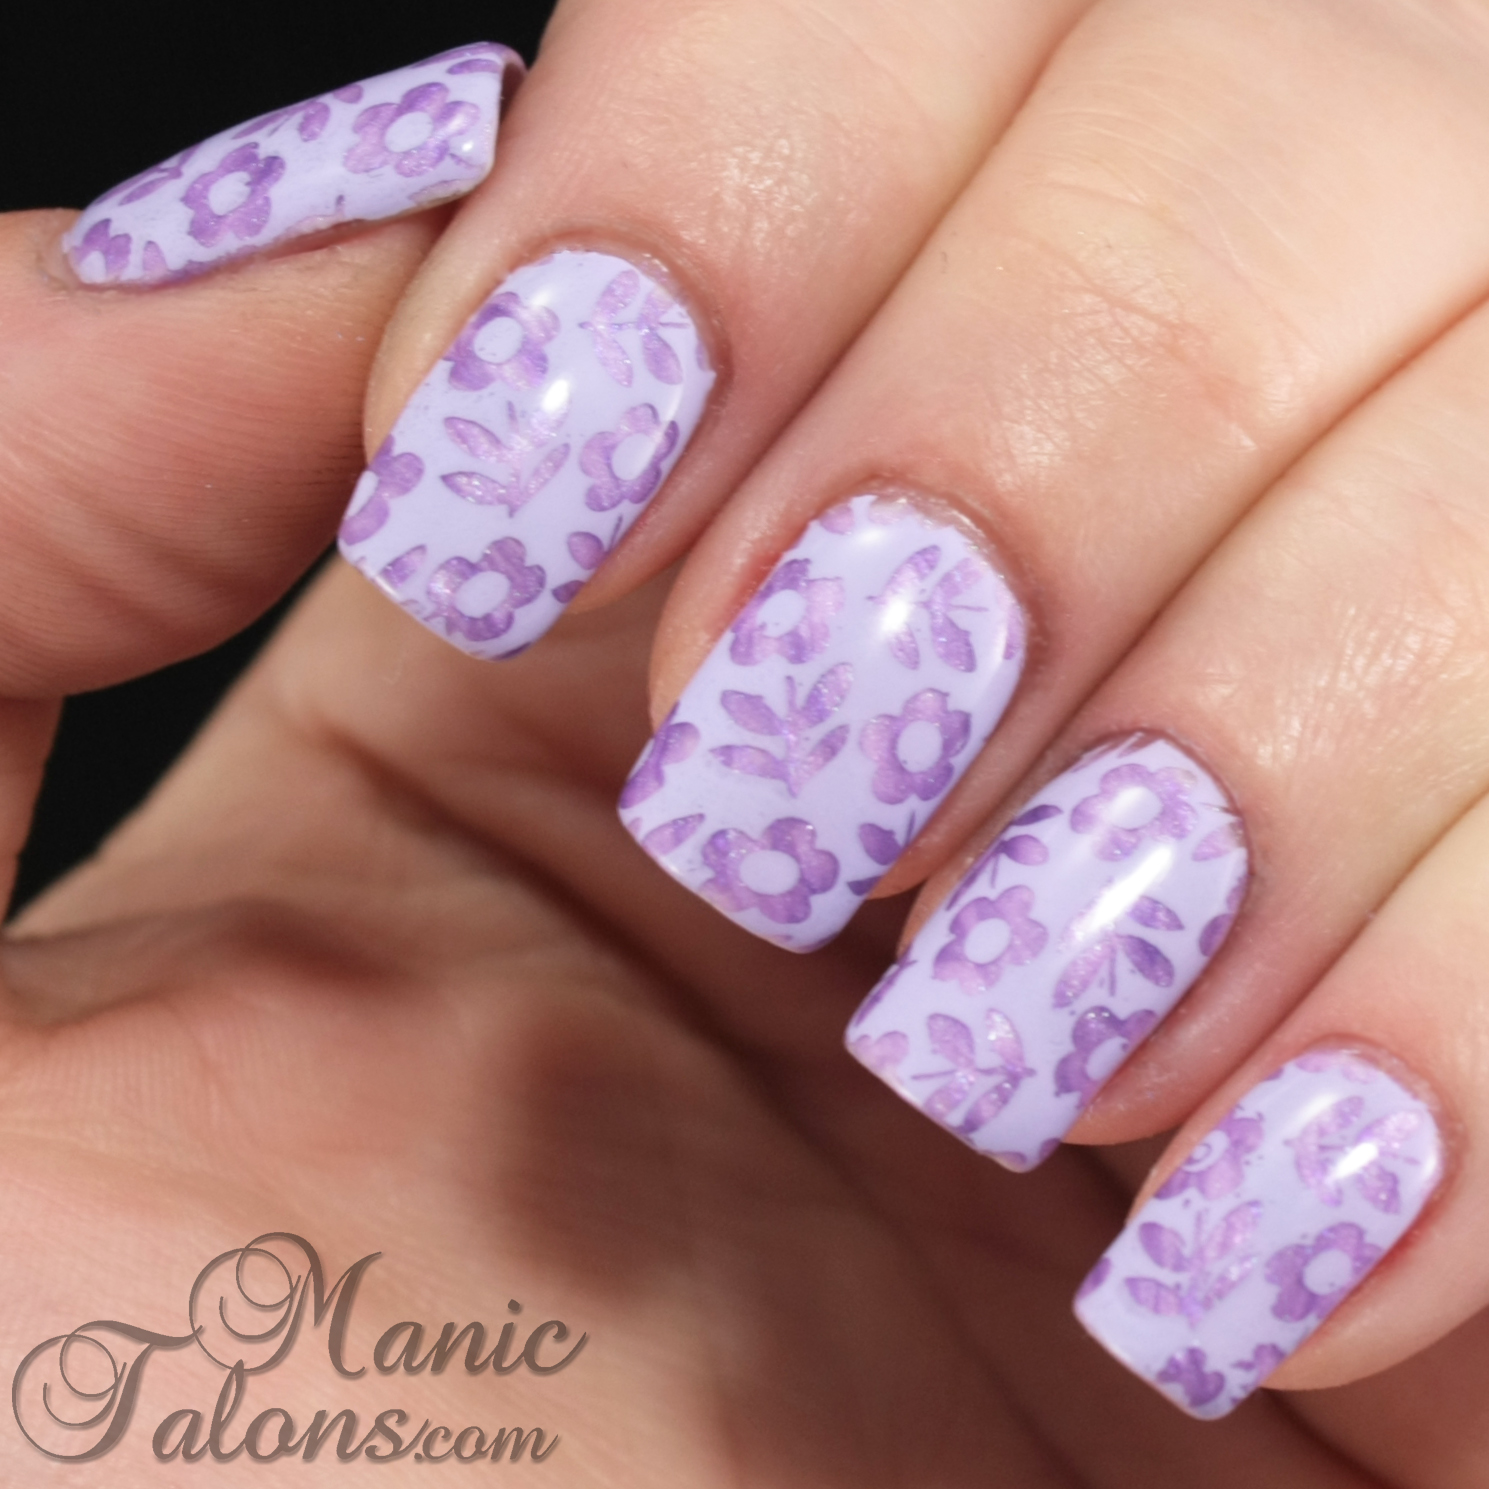
Working backward, I stamped this one with Mundo de Unas Lilac stamping polish and the reverse flower image from MoYou London Pro Collection XL 13.

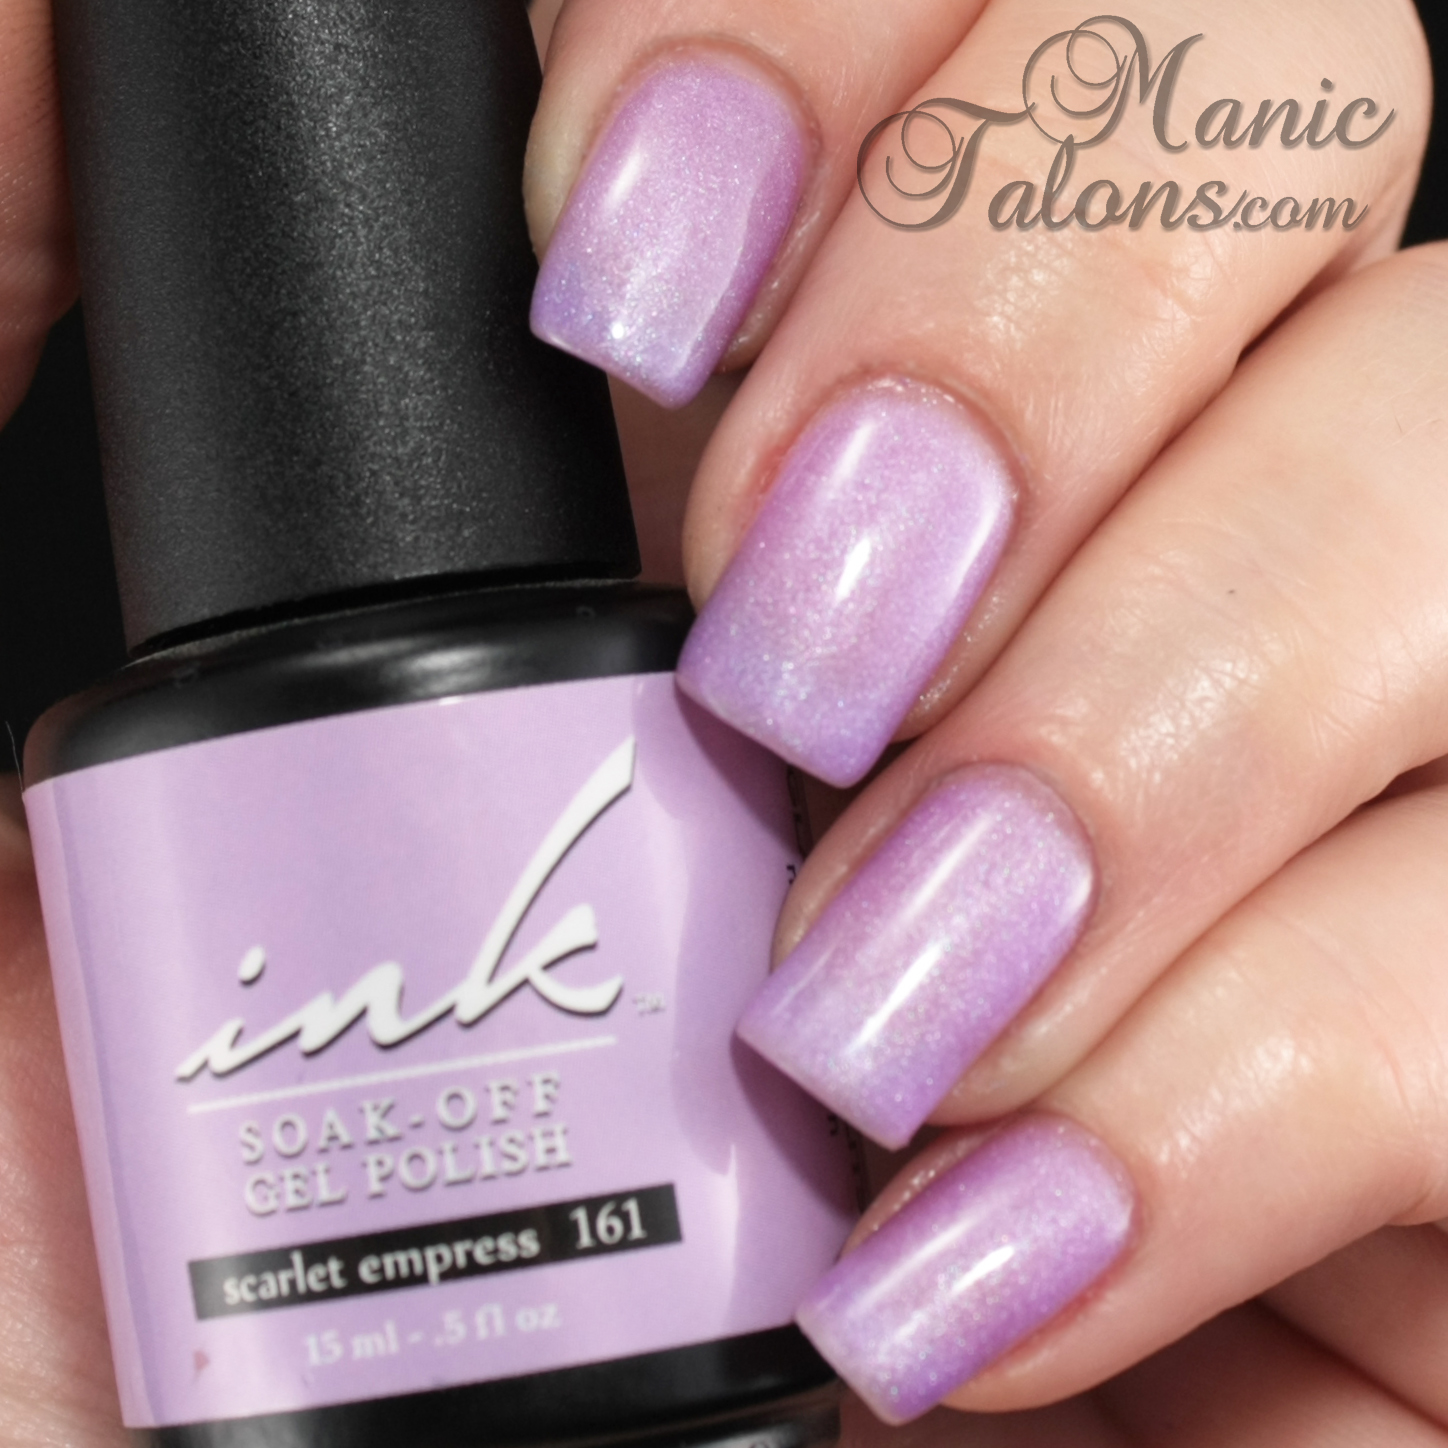
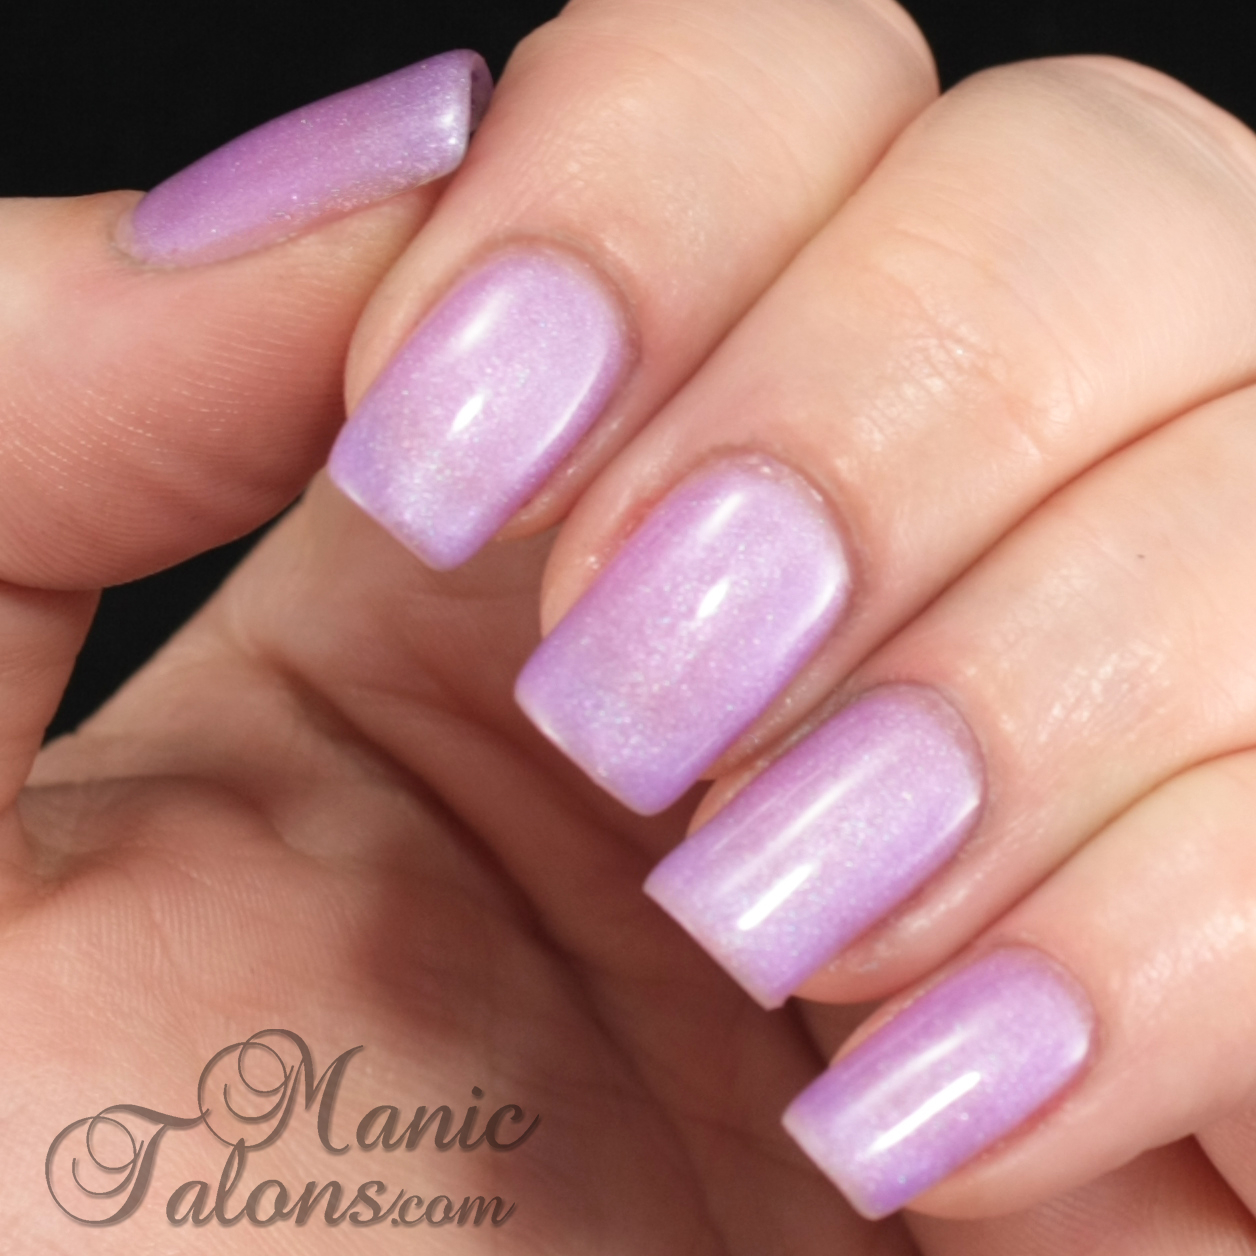
For the base, I started with Ink Scarlet Empress.  Scarlet Empress is a slightly sheer, pastel purple frost.  When I wear it alone, I usually wear it over a white base to make it opaque.  This is 3 coats without the white base.  The second picture shows how the light bounces off of the frosty finish.
Glam and Glits Ink Scarlet Empress Swatch
 Glam and Glits Ink Scarlet Empress Swatch

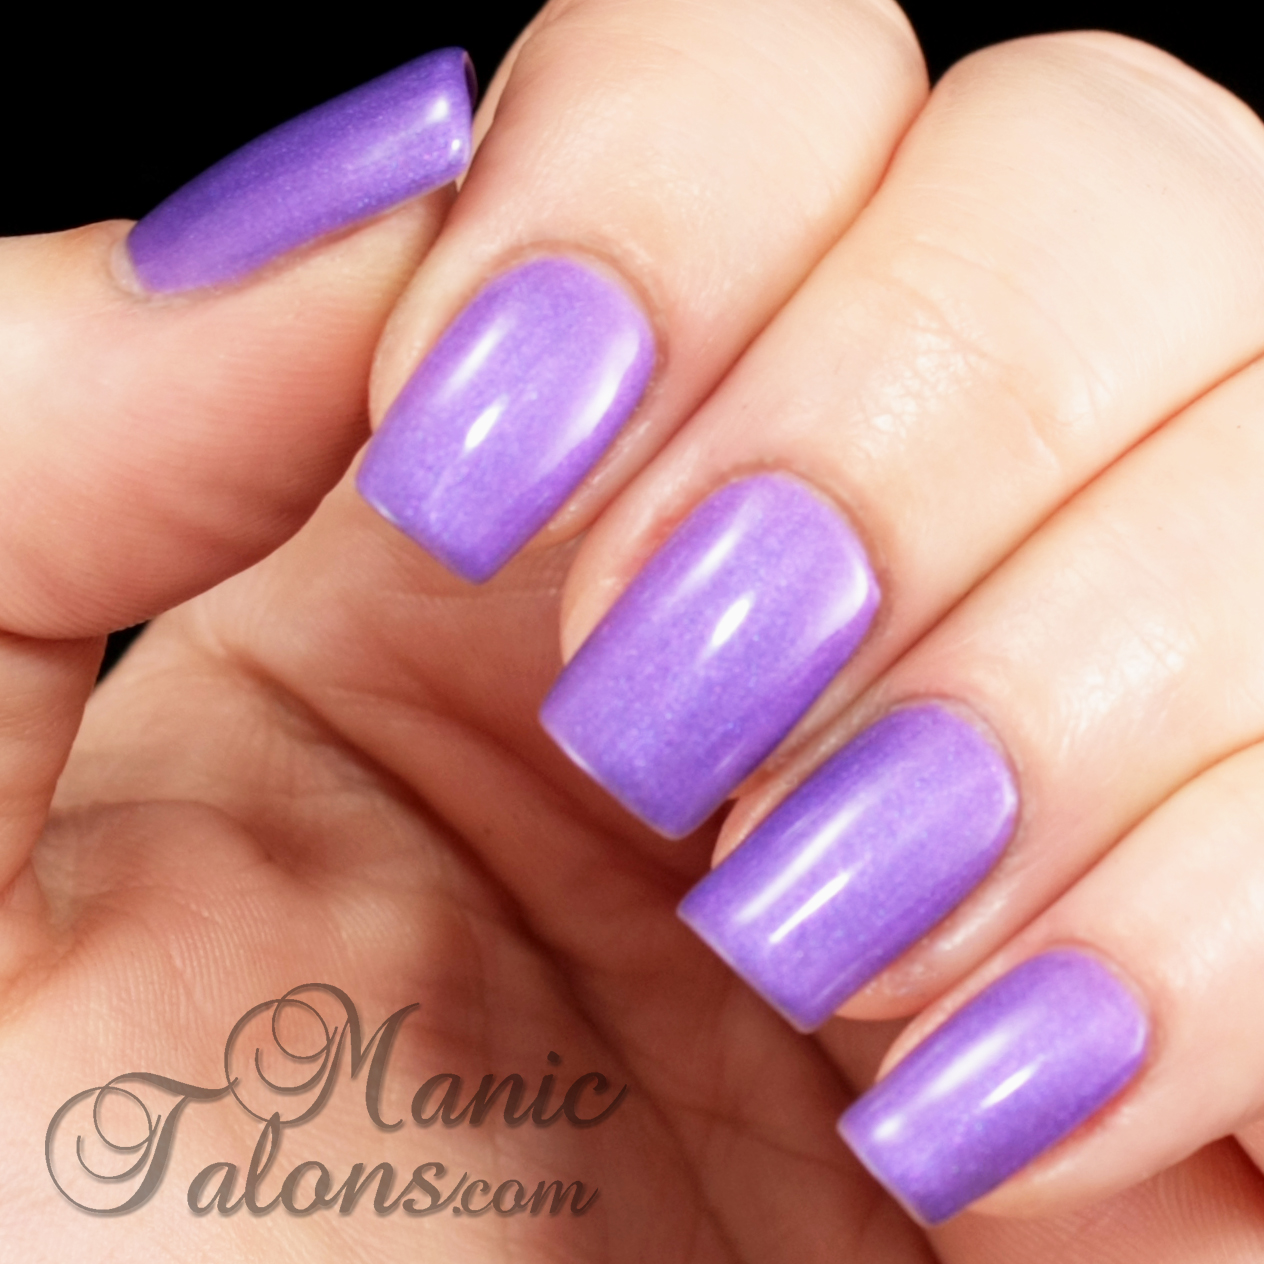
I then dry marbled Scarlet Empress with Ink Secret Desire.  Secret Desire is a darker, shimmery purple.  Random note, but this is the first Ink I ever owned.  :)  As you can see in the second picture, when the light hits the shimmer it shifts to a slightly lighter shade of purple.
Glam and Glits Ink Secret Desire Swatch
 Glam and Glits Ink Secret Desire Swatch

Finally, here's a shot of the base before the stamp.  I absolutely love how this marble turned out! I almost couldn't bring myself to finish the challenge and stamp over it.

Check back later this week for a video tutorial on how I did the dry marbled base for this mani.  :)

~Michelle
Read more ...

Thursday, January 23, 2014

Simple Blue Flowers

Purchased by Me

Hello loves.  I've been a bit under the weather with a nasty cold, so I opted for something simple this week.  Since this cold has me feeling a little blue, I decided on a deep blue base with frosty flowers.
Simple Blue Flowers Nail Art

For this mani, I started with a base of Couture Gel Nail Polish After Midnight.  I have swatched this one before, but I decided to take another swatch picture since the last one is from before I updated my light box and is rather dark.  I think this picture shows the color much better. :)
Couture Gel Nail Polish After Midnight Swatch

I then added a few simple flowers and dots in Couture Share My Yacht? with a nail art brush.  I topped them off with a few small silver studs.  Simple, yet effective.
Simple Blue Flowers Nail Art

As you may have noticed, I also updated my watermark.  It feels much cleaner than my previous mark.  :)

~Michelle
Read more ...

Tuesday, January 21, 2014

Meet my Nemesis: Couture Spa Day

Purchased by Me

Hello Loves.  Every blogger has at least one polish that she absolutely hates to love.  For me, that polish is Couture Gel Nail Polish Spa Day.  It is such a gorgeous color, applies perfectly and wears wonderfully.  So why is this polish my nemesis?  The answer is simple.  It stomped my photography butt.  No joke, I have swatched this color on six different occasions and have yet to capture it perfectly.  I have tried custom white balance settings, custom picture modes, different lighting, the works.

2000+ pictures later, and I believe I finally got it.  Ok, so here she is - my nemesis.  This little beauty is Couture Spa Day.  As I mentioned, it is nearly impossible to photograph.  In some lights, it appears more green.  In others, more blue.  As a lover of teals, this one quickly became the polish I hate to love.  It isn't the best color for my skin tone, but I wear it anyway.  :)  In this shot, you can see the green tones fairly well.  Note the stark difference between the color on my nails and the dot on the bottle.

Couture Gel Nail Polish Spa Day Swatch

In this next shot, you can see the blue tones more.  This shot was taken with the exact same lighting (lightbox) and same camera settings as the picture above.

Now that you've seen the most color accurate shots I can get, allow me to show you a few of the bad ones.  The pictures below are not edited at all - not even touched up.  I'm showing this collage for one reason: I have noticed comments on several blogs accusing bloggers of color correcting their photos.  If you see a swatch picture that doesn't seem quite right - especially if it is a blue/green shade - please consider that there are many factors that impact color: camera settings, lighting, monitor settings, and even viewing angle if you use an LCD display (just for fun, if you're on a laptop, try tilting your screen while looking at the image below).  Most of the bloggers I chat with regularly do not color correct their photos, so if a color isn't quite right, one of these things is likely to blame. :) 

~Michelle

Read more ...

Sunday, January 19, 2014

Love is in the Air with Couture

Purchased by Me

Hello Loves.  I have a few swatches to show you today in addition to a little nail art.  This design was inspired by a photo posted to instagram by b_jessica_3, the creator of Drip Drop Nail Paint.  If you aren't already following her, you really should.  Her nail art is marvelous. 

Onto the art.  This is my interpretation of her love design.  As usual, details and additional swatch pictures to follow.

I started with a base of, you guessed it, Couture Gel Nail Polish Dance til Dawn.  I seriously love this polish!  It is my perfect soft white, and I'm going to need another bottle before long.  You can see my swatch pictures of Dance til Dawn here.

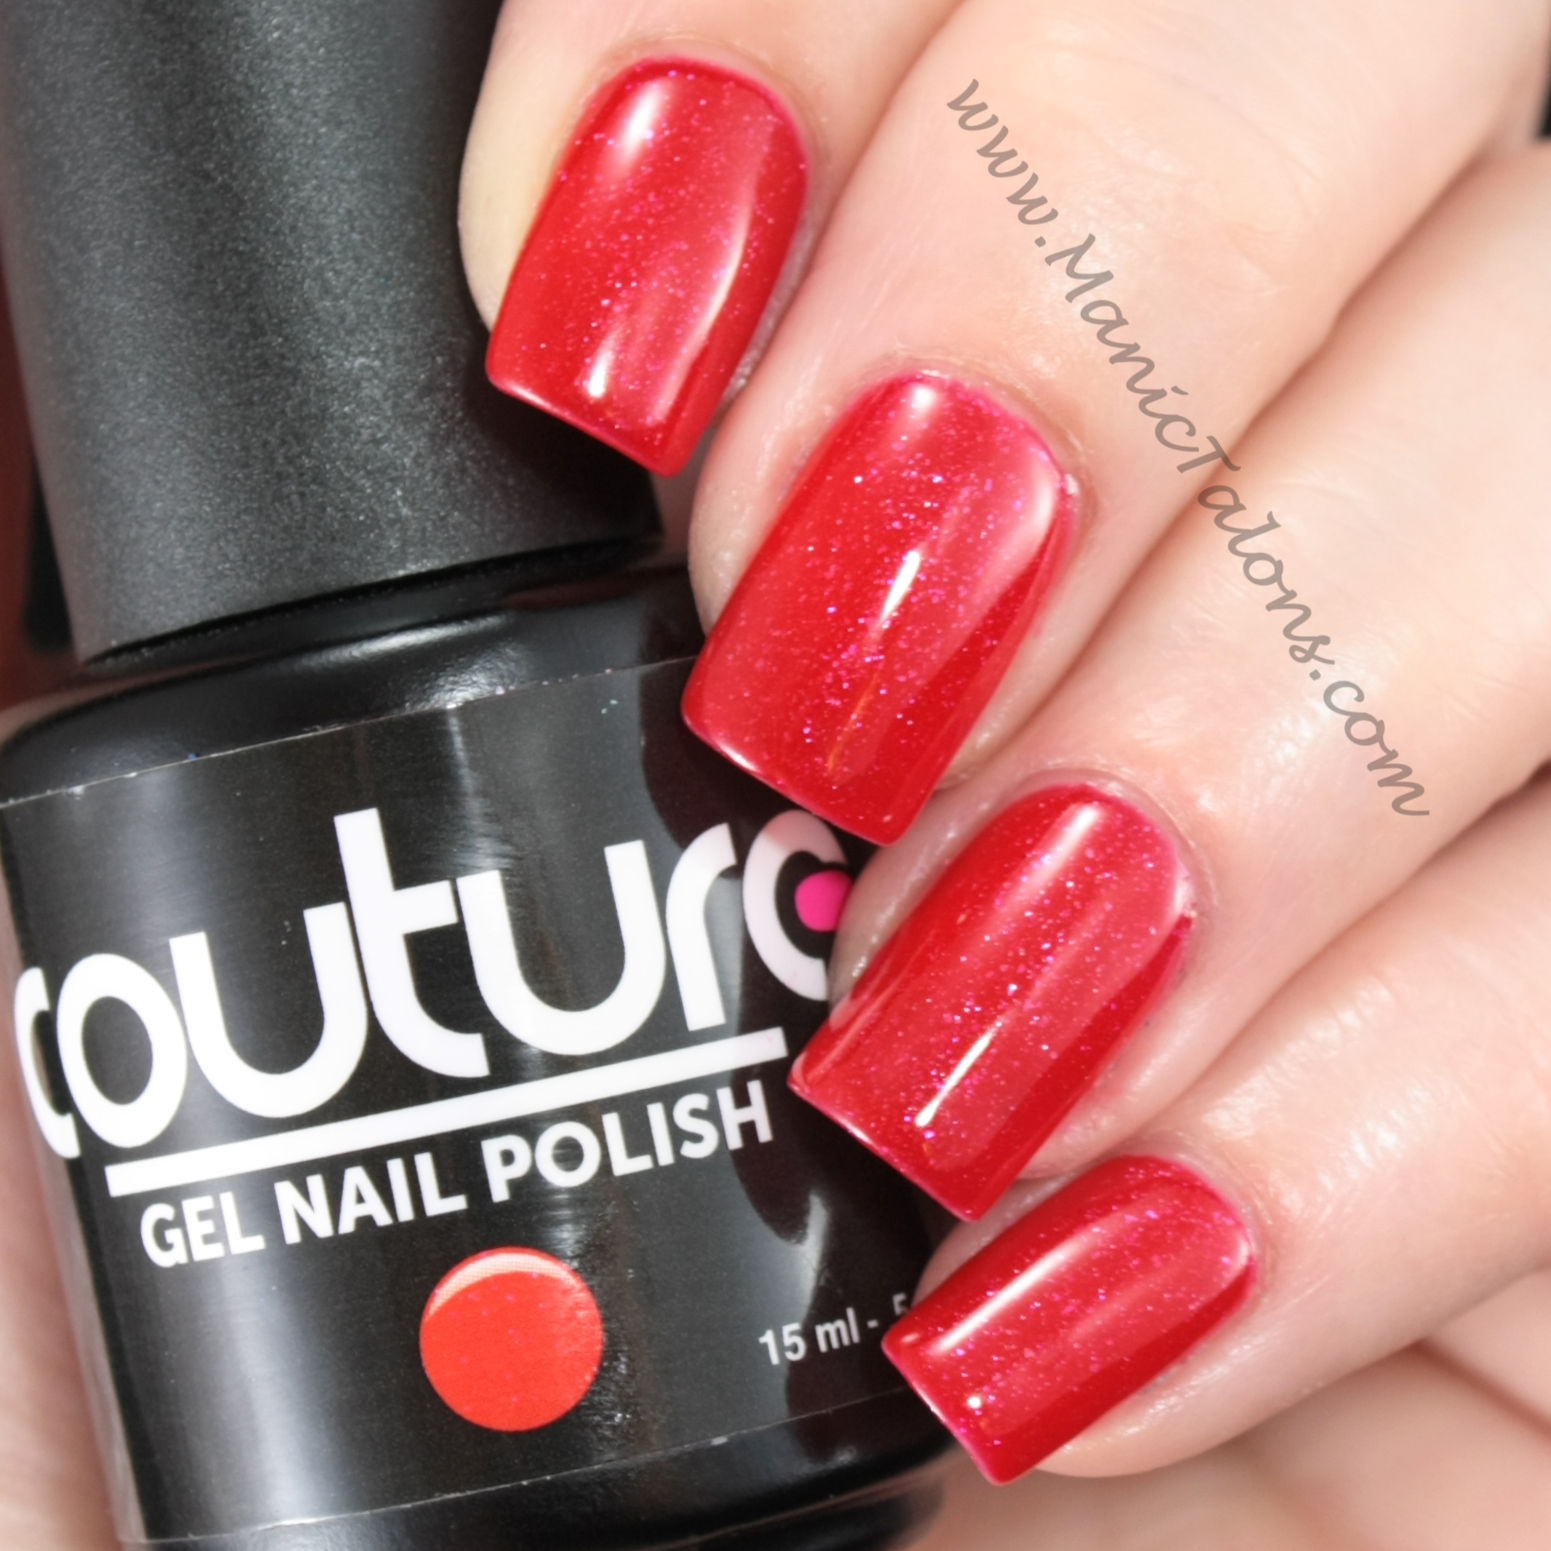
I then used a small dotting tool to add the letters, dots and hearts.  I used three Couture colors.  The first is Couture Red Carpet.  I have used this one in a previous mani, but didn't get swatch pictures then.  Red Carpet is a gorgeous, classic red with a pink shimmer.
Couture Gel Nail Polish Red Carpet Swatch

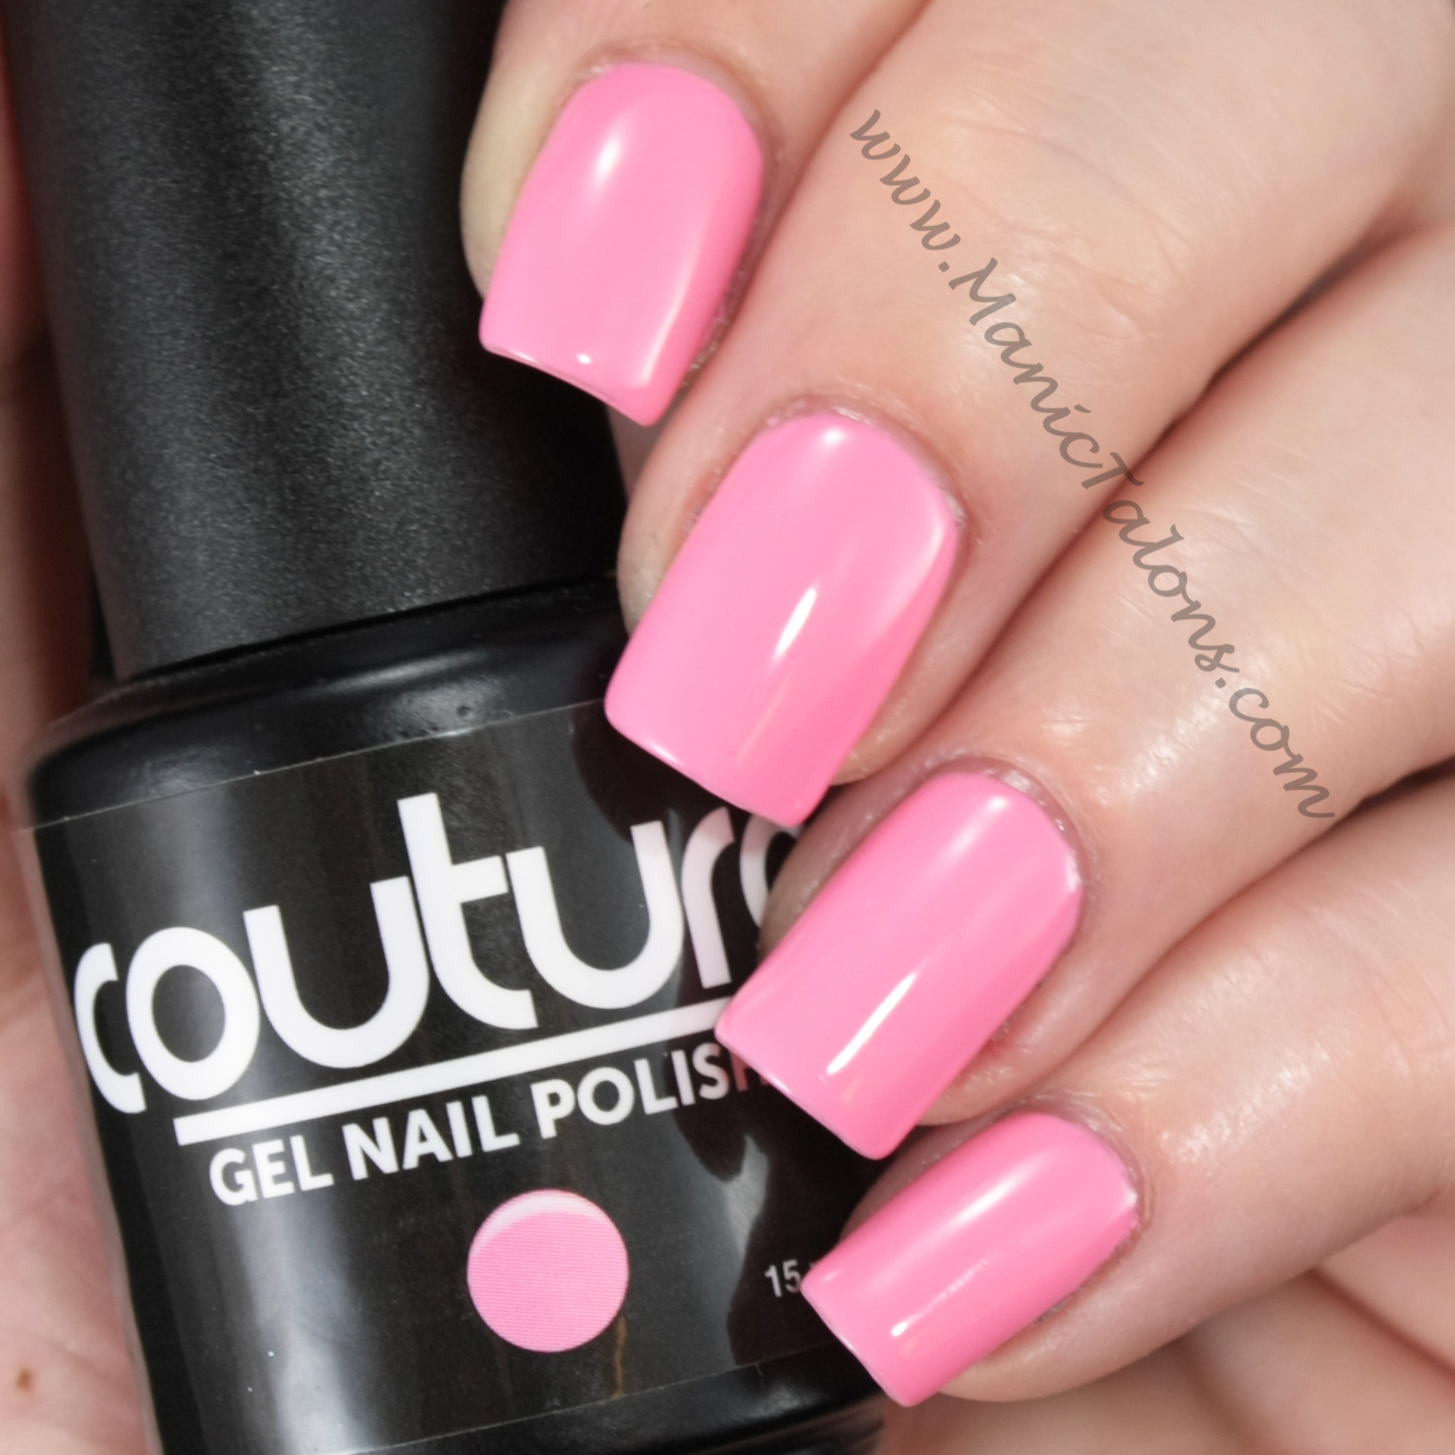
The next color in this design is Couture Off The Shoulder.  Off the Shoulder is a sweet, classic pink cream.
Couture Gel Nail Polish Off the Shoulder Swatch
 Couture Gel Nail Polish Off the Shoulder Swatch

I also used Couture Sweet Cheeks, which is a slightly muted version of Off the Shoulder.
Couture Gel Nail Polish Sweet Cheeks Swatch
 Couture Gel Nail Polish Sweet Cheeks Swatch

I hope you like this design.  Be sure to check out B_Jessica_3 on instagram to see the mani that inspired this one!

~Michelle


Read more ...

Wednesday, January 15, 2014

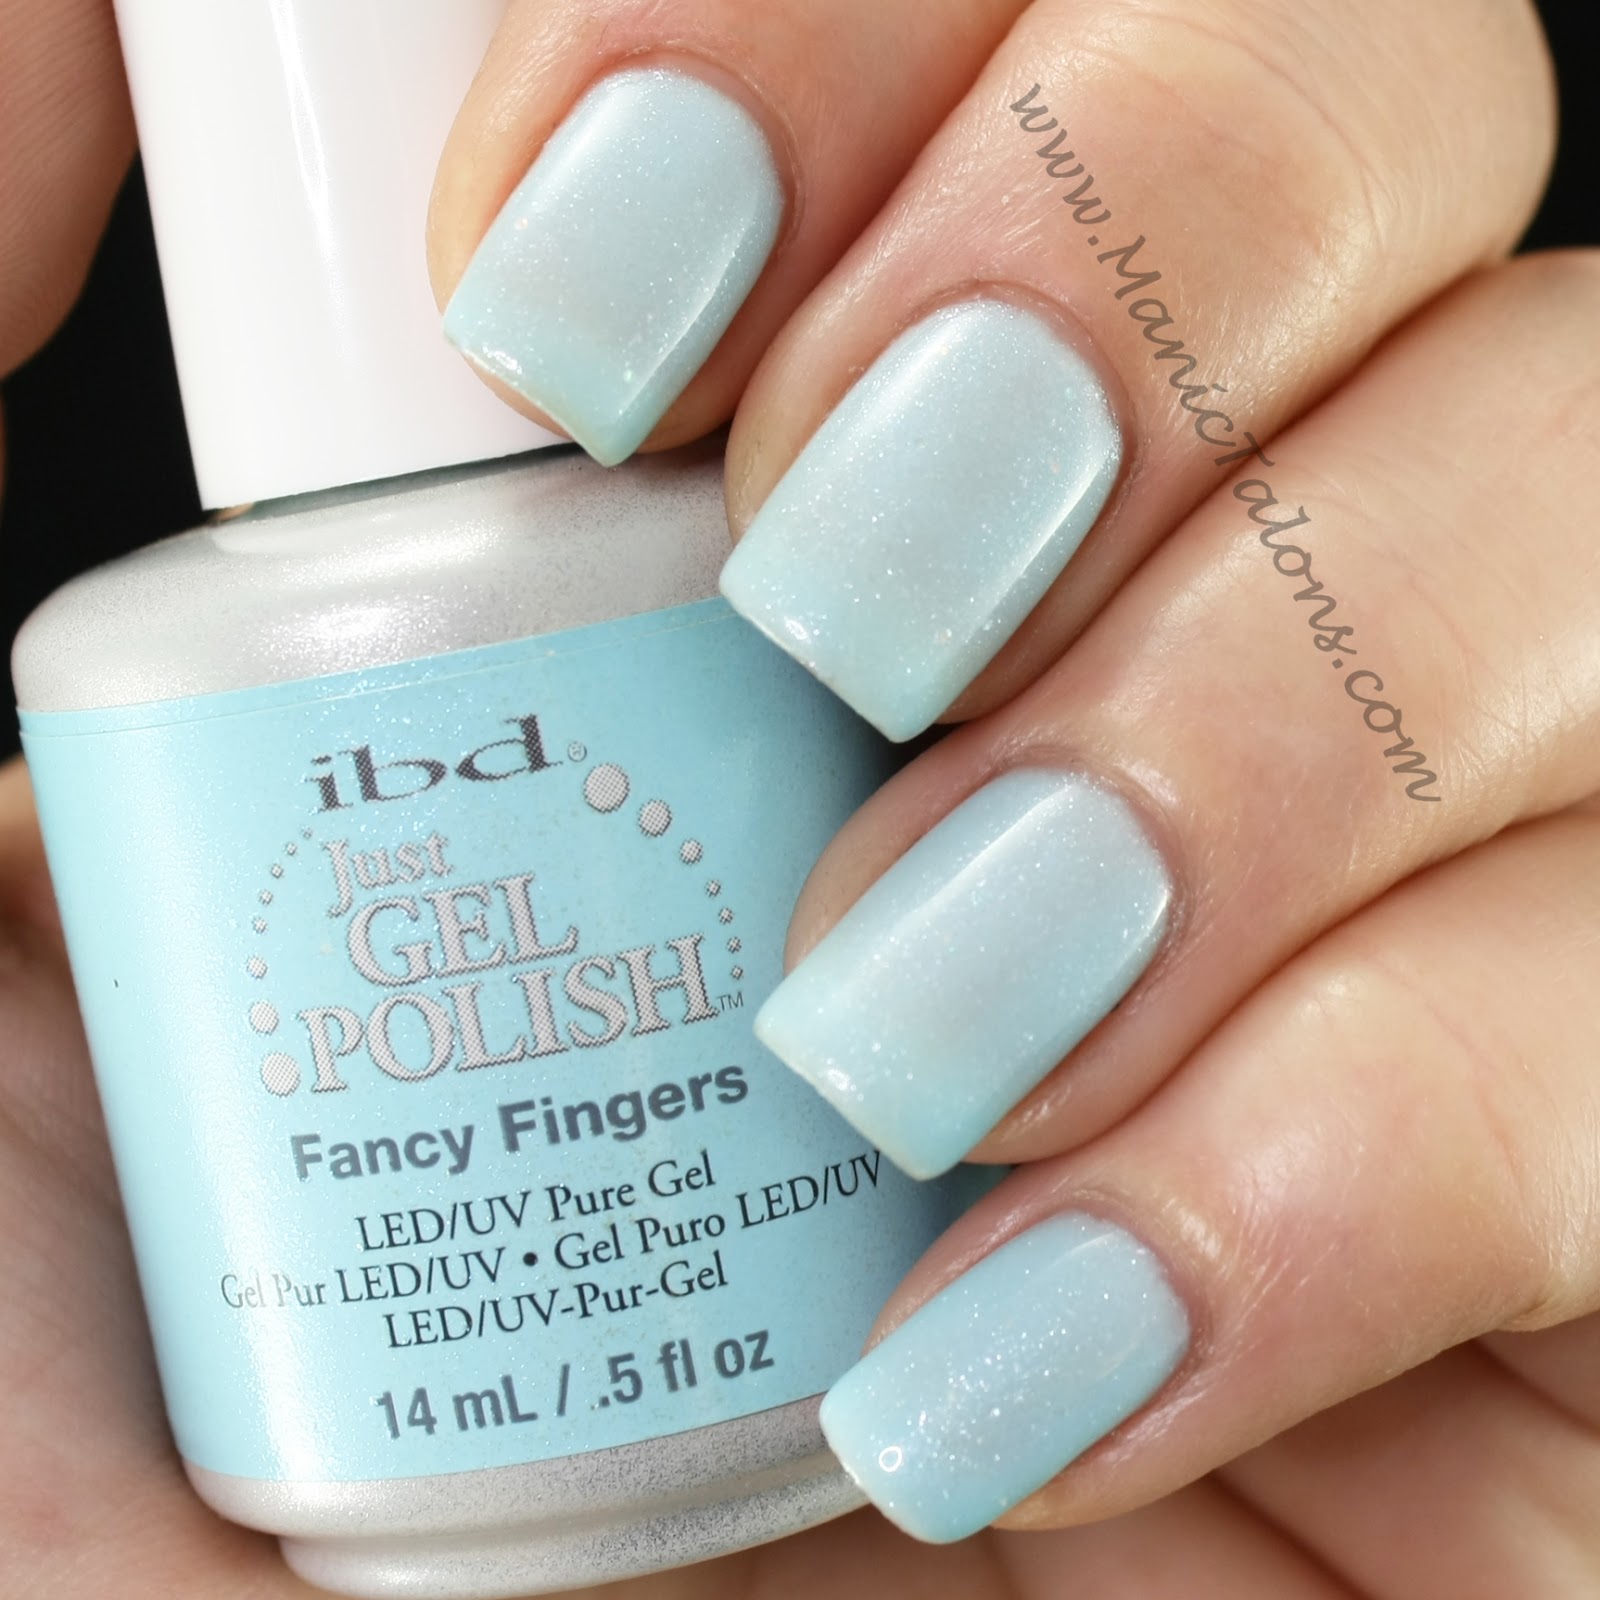
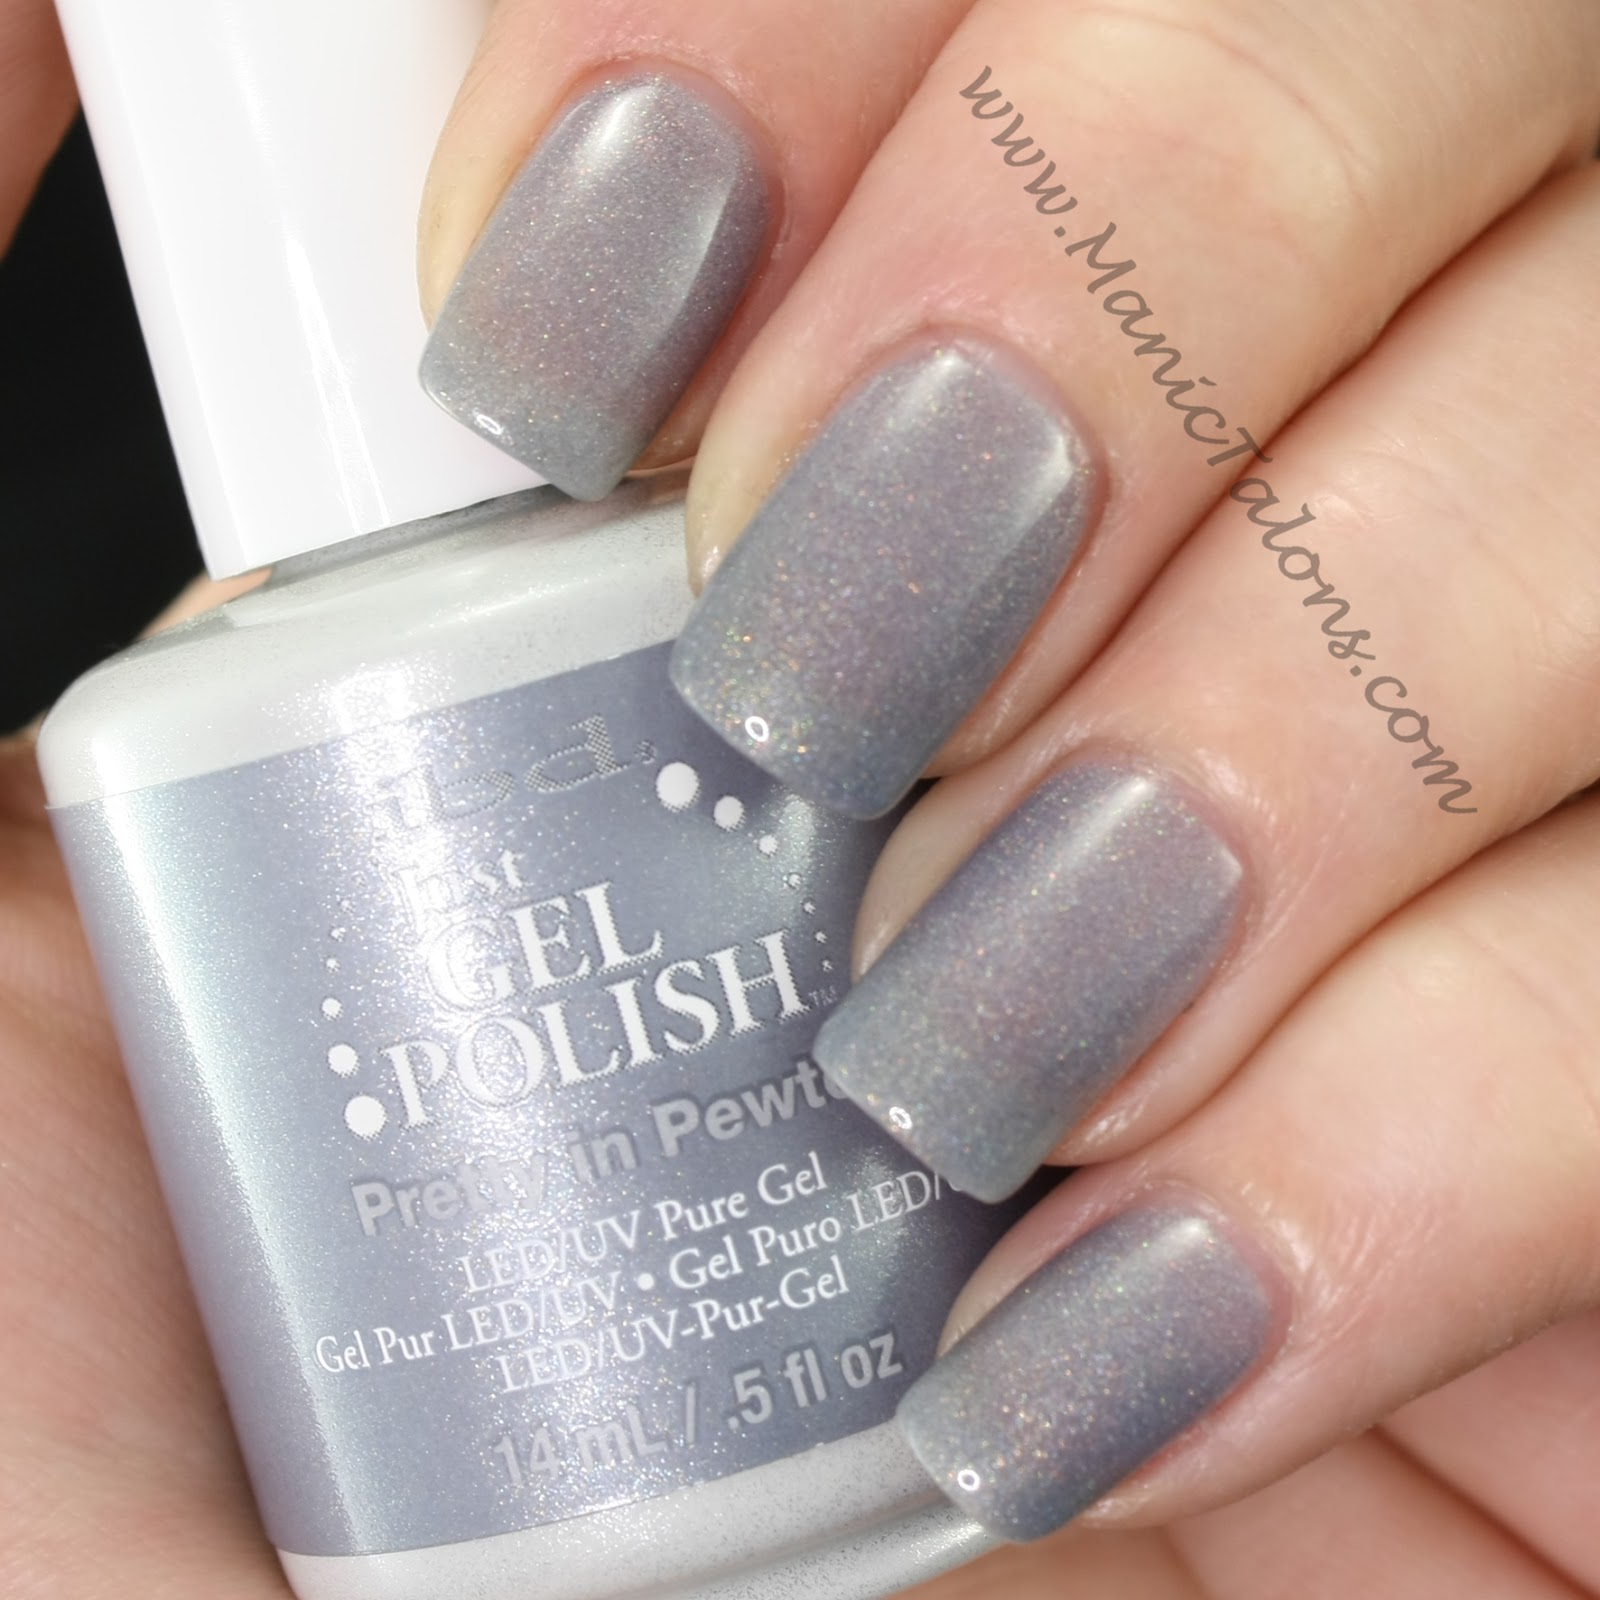
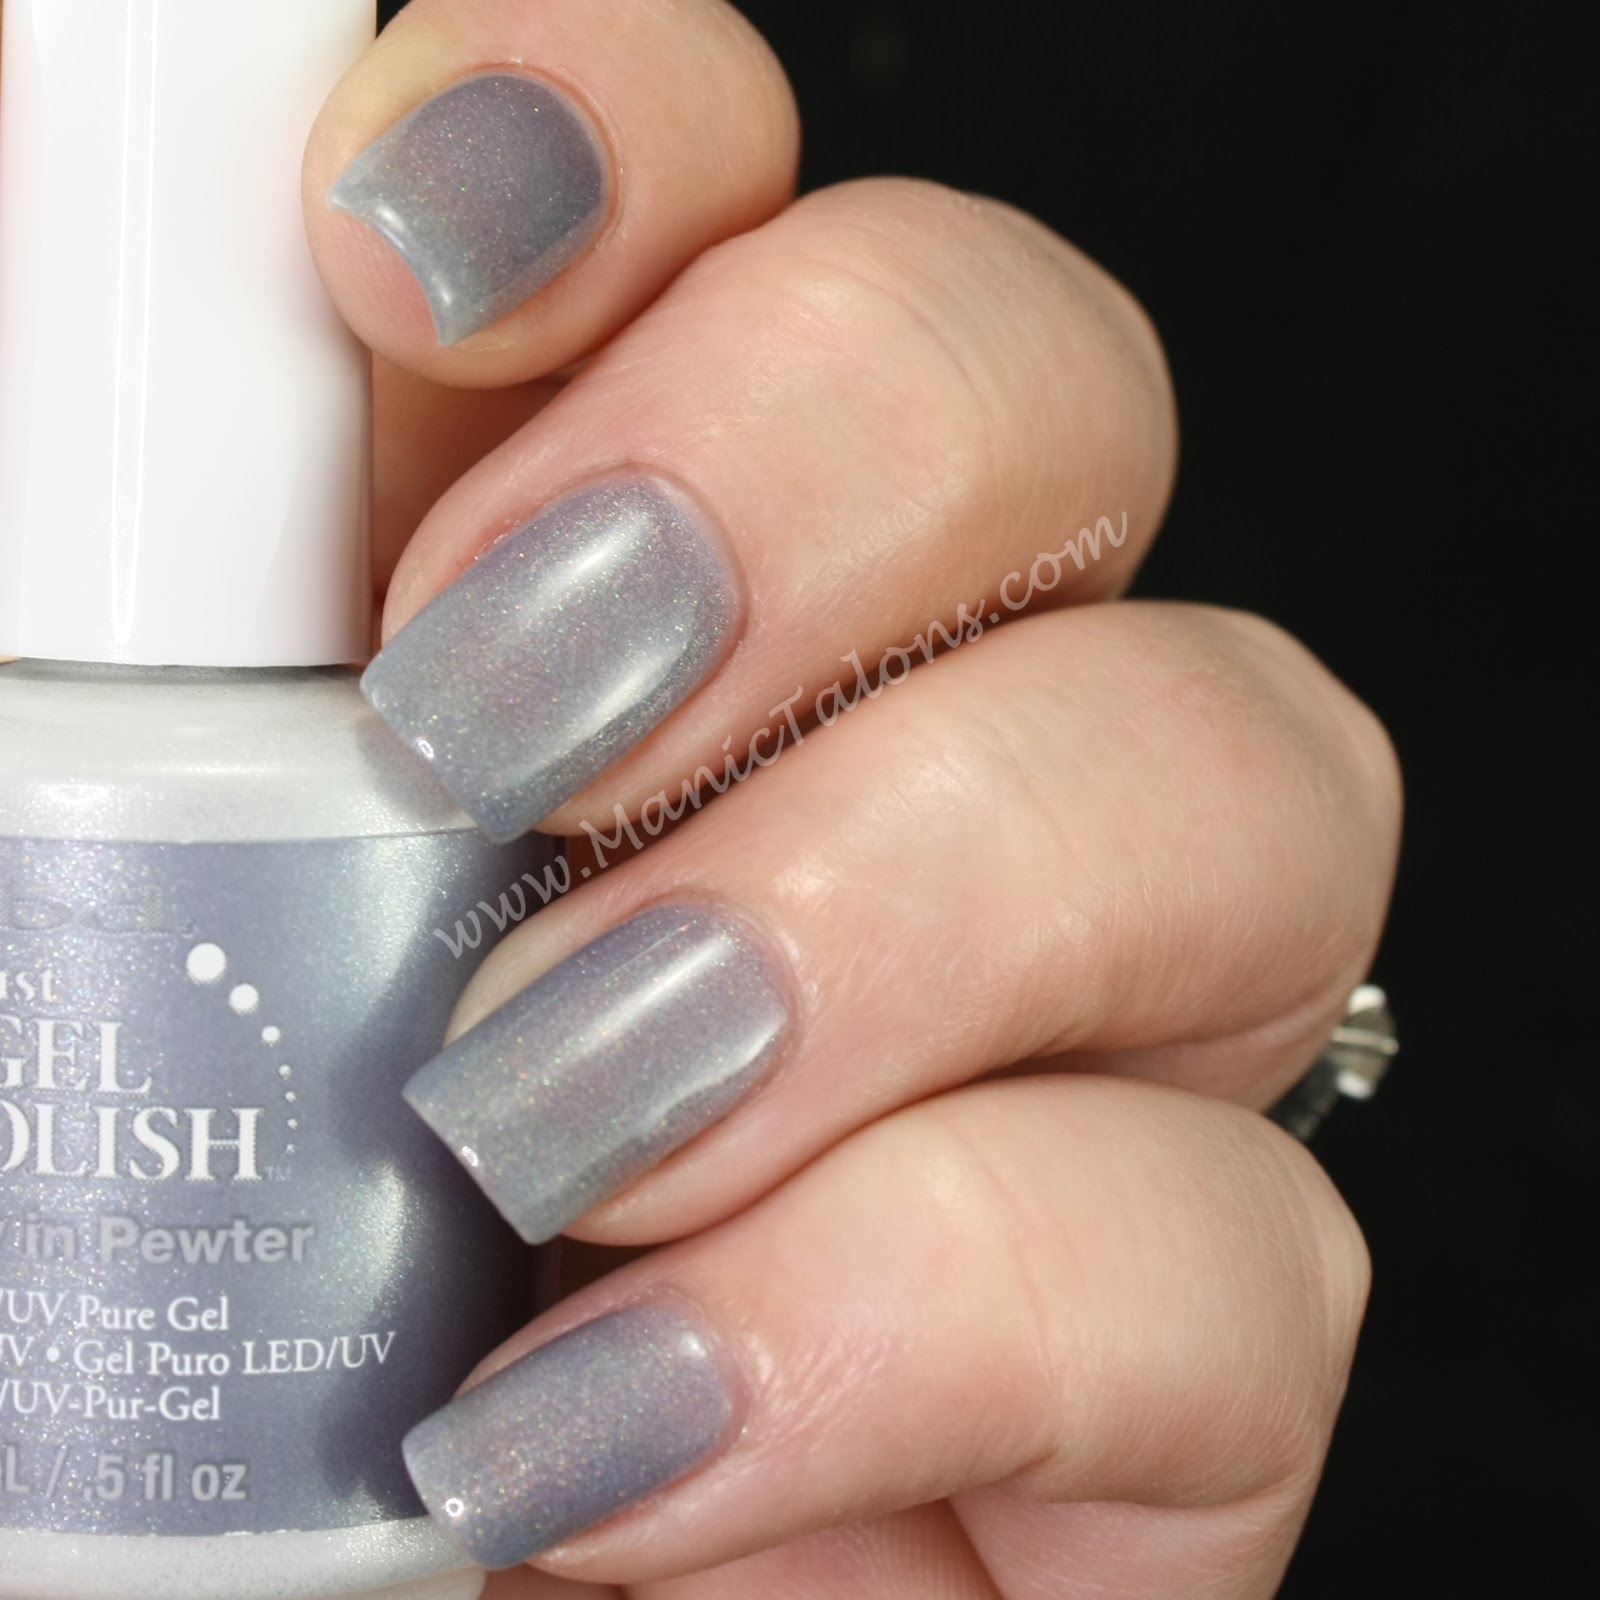
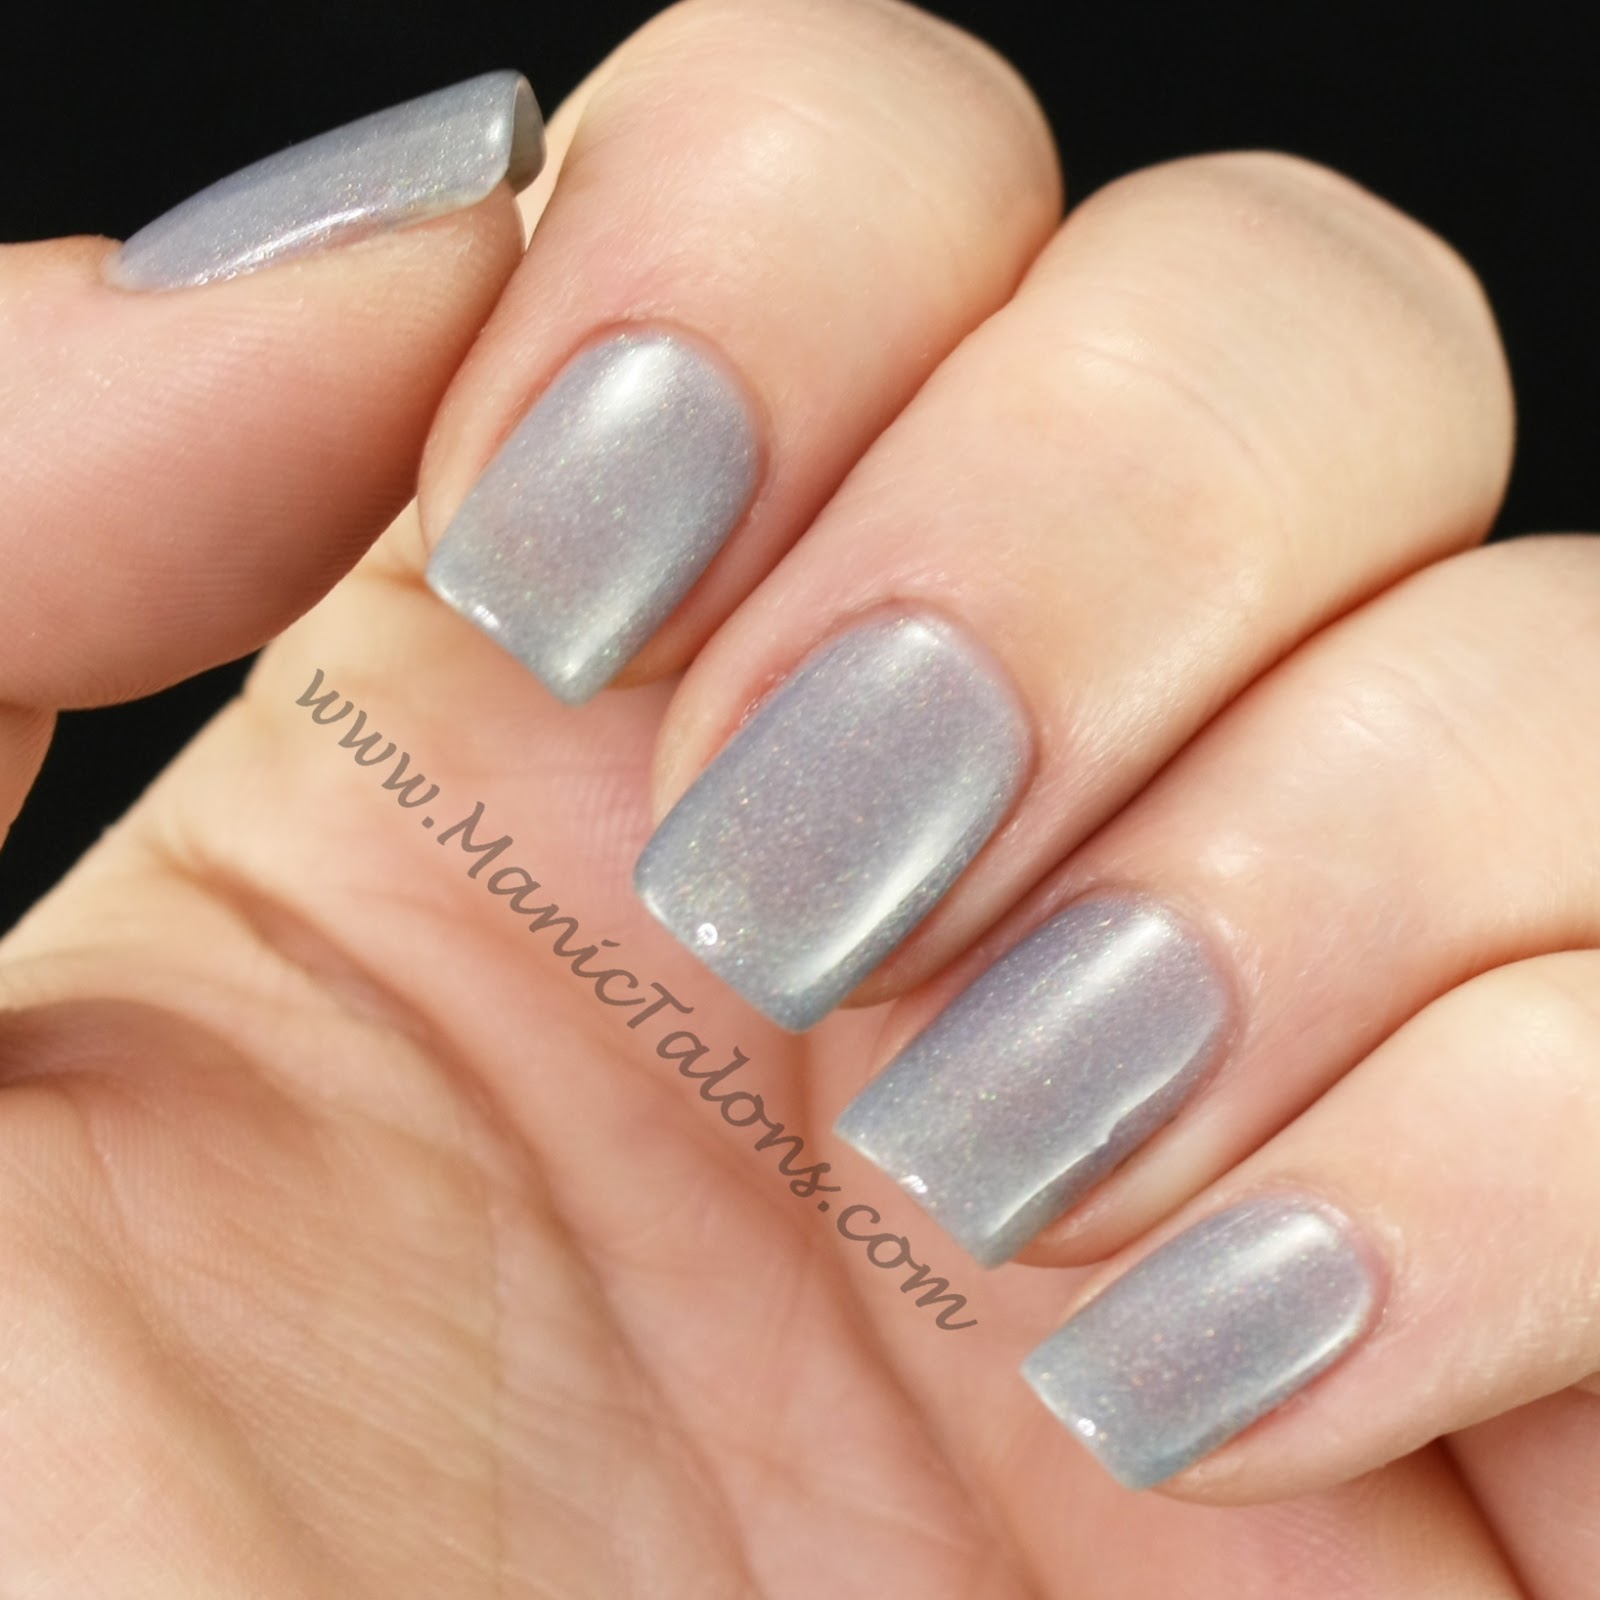
IBD Just Gel: Fancy Fingers, North Wind, Pretty in Pewter and Road toParis

Affiliate Links Purchased by Me

Hello loves.  Now that the holidays are behind us, I'm working through swatching my stash again.  Today I have four of my favorite IBD Just Gel polishes to show you.  These span several releases and are not part of collections to my knowledge, but I love them just the same.

First up is the gorgeous light blue known as Fancy Fingers.  This one has a nice, subtle shimmer with a few iridescent glitter pieces thrown in for good measure.  It is a bit on the sheer side, so I usually wear it over a nude base.  However, for the purpose of showing the true color and consistency, this is 3 coats without undies.
IBD Just Gel Fancy Fingers Swatch
 IBD Just Gel Fancy Fingers Swatch
 IBD Just Gel Fancy Fingers Swatch

This next little beauty is North Wind.  I love the silver-pink tone and extreme frosty finish.
IBD Just Gel North Wind Swatch

Pretty in Pewter is one of my all time favorite greys.  The blue undertones and subtle, scattered holo gold shimmer makes this one unique from all the other greys in my collection.  It is a bit sheer on it's own, but layered over nude undies, it is so pretty I hate to even add art on top of it.
IBD Just Gel Pretty in Pewter Swatch
 IBD Just Gel Pretty in Pewter Swatch
 IBD Just Gel Pretty in Pewter Swatch

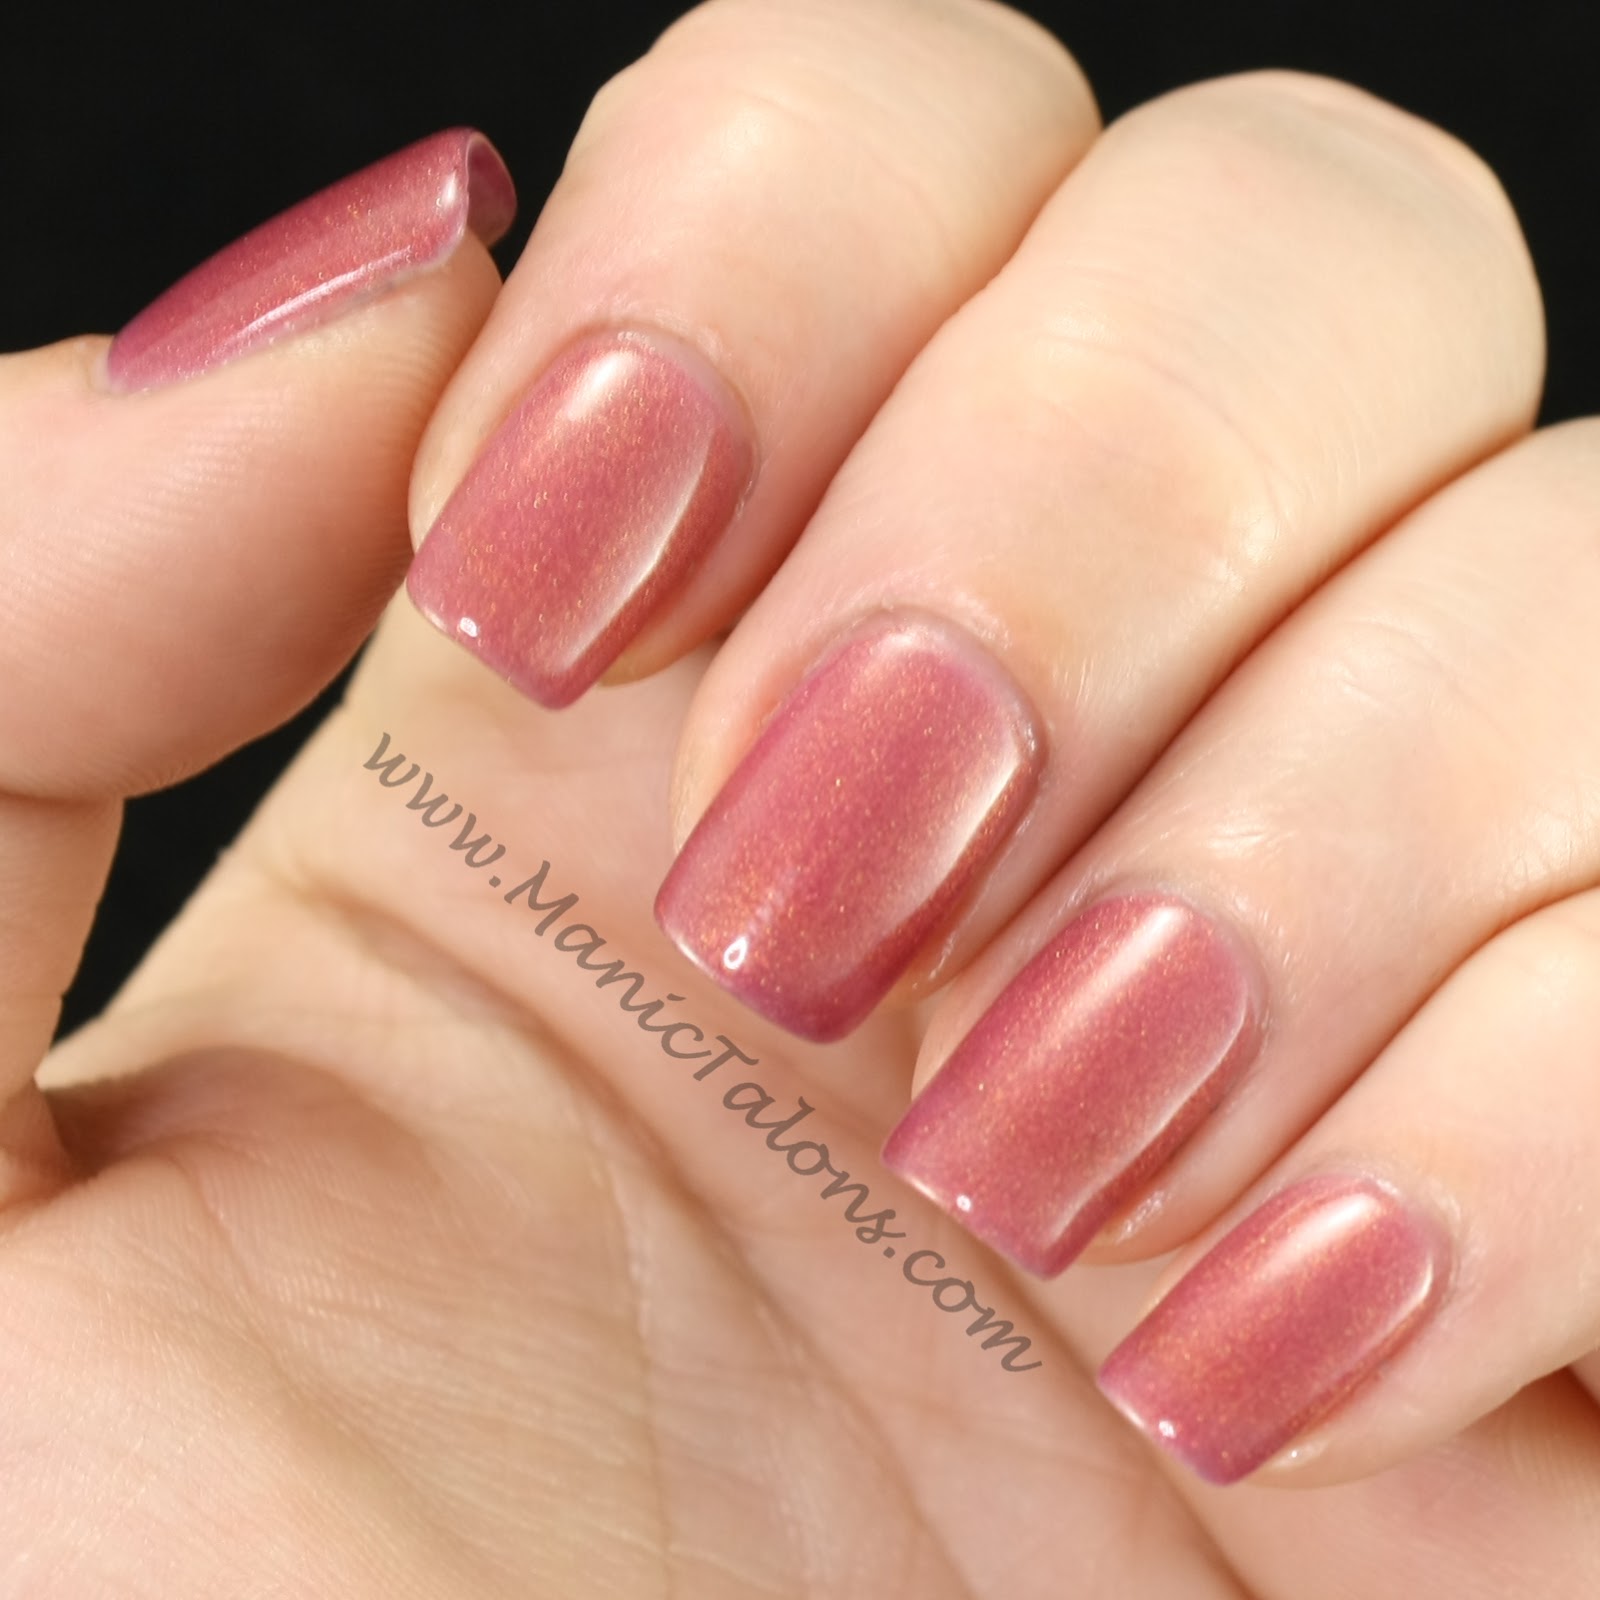
The final polish I selected to show you today is Road to Paris.  This one is simply amazing.  I want to call it a wine with a golden shimmer, but in reality it is more of a rose-copper.  It has a slight pink shift depending on the lighting.  Sadly, this one is also a bit sheer and looks best over undies.
IBD Just Gel Road to Paris Swatch
 IBD Just Gel Road to Paris Swatch
 IBD Just Gel Road to Paris Swatch

What do you think? Will these little beauties make their way into your collection?

~Michelle

*All affiliate links connect to Ebay sellers I have personally purchased from and are trusted sellers.
Read more ...

Sunday, January 12, 2014

Tips and Tricks: Gradient Stamped Hearts

Purchased by Me Affiliate Links

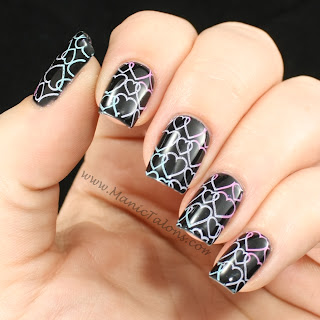
Hello loves.  I decided to try a new stamping technique this evening called gradient stamping.  I don't know who came up with this technique, but I seriously love it!  I have been wanting to try it for a while now and just got around to it tonight.
I'm pretty sure this exact design has been done before - same image and all, but I don't remember where I saw it.  If you recognize it, please let me know in the comments so I can give credit. :)  I am completely head over heels for the finished look, although it does remind me of those crazy laser photo backgrounds that were so popular in school pictures in the 80s.

I started out with a base of Ink Blackout.  I didn't do a swatch picture of this one because my bottle is one of the manufacturer flaws floating around.  Blackout should be a pure black creme.  Mine has silver shimmer.  I love that I have one of the flawed bottles, though.  It makes it unique to my other blacks.

I then chose three of my pastel Mundo de Unas stamping polishes for the gradient and the interlocking hearts image from Pueen 41.  The polish colors are Pink, Lilac and Pastel Blue.  Mundo de Unas polishes are amazing.  When I ordered, I chose only colors that stamp well over black and I don't regret that decision one bit.  Not only are they super opaque, but I also love that they are slower to dry than many other stamping polishes so I have a little more time to position the stamp.

I then applied stripes of each color to the image.  I usually only paint half of the image with stamping polish to reduce waste, but in this case painting the entire image gives you more control of where each color ends up.
http://www.amazon.com/gp/product/B00CDGR29G/ref=as_li_tf_tl?ie=UTF8&camp=1789&creative=9325&creativeASIN=B00CDGR29G&linkCode=as2&tag=manic0a-20

Scrape in the same direction you applied the stripes to keep the colors from mixing too much.

I used my XL Squishy stamper for this manicure, but it was really hard to see the colors on the white pad.  So I picked up the image with the darker pad on my Magno stamper to show you how it looks before being placed on the nail.  Please excuse the skips in the image as I haven't prepped this pad yet.  But you can see the subtle gradient between each of the colors. 

Here's another shot of the finished mani.  This is a technique I will definitely try again, and hopefully I can move a bit quicker next time.  You can see a few blank spots in the lines in this shot.  This is the result of waiting a little too long between scraping, picking up the image, and transferring it to the nail.

What do you think of gradient stamping?  Do you love it as much as I do?

~Michelle
Read more ...

Thursday, January 9, 2014

Origami Owl inspired Nail Art

Affiliate Links Purchased by Me

Hello loves.  I am super excited about today's post.  For years, an Origami Owl living locket has been high on my wish list.  I have hinted at every single holiday hoping my dearest husband would get me one.  Sure, I could have just ordered one for myself, but what fun is that? ;)  This year, I kind of gave up and didn't mention it.  I accepted that he just isn't great at taking hints.  So I was genuinely surprised when I found this gorgeous locket hanging from the Christmas tree.  I love it so much I just have to show it to you! :)
Owl Nail Art

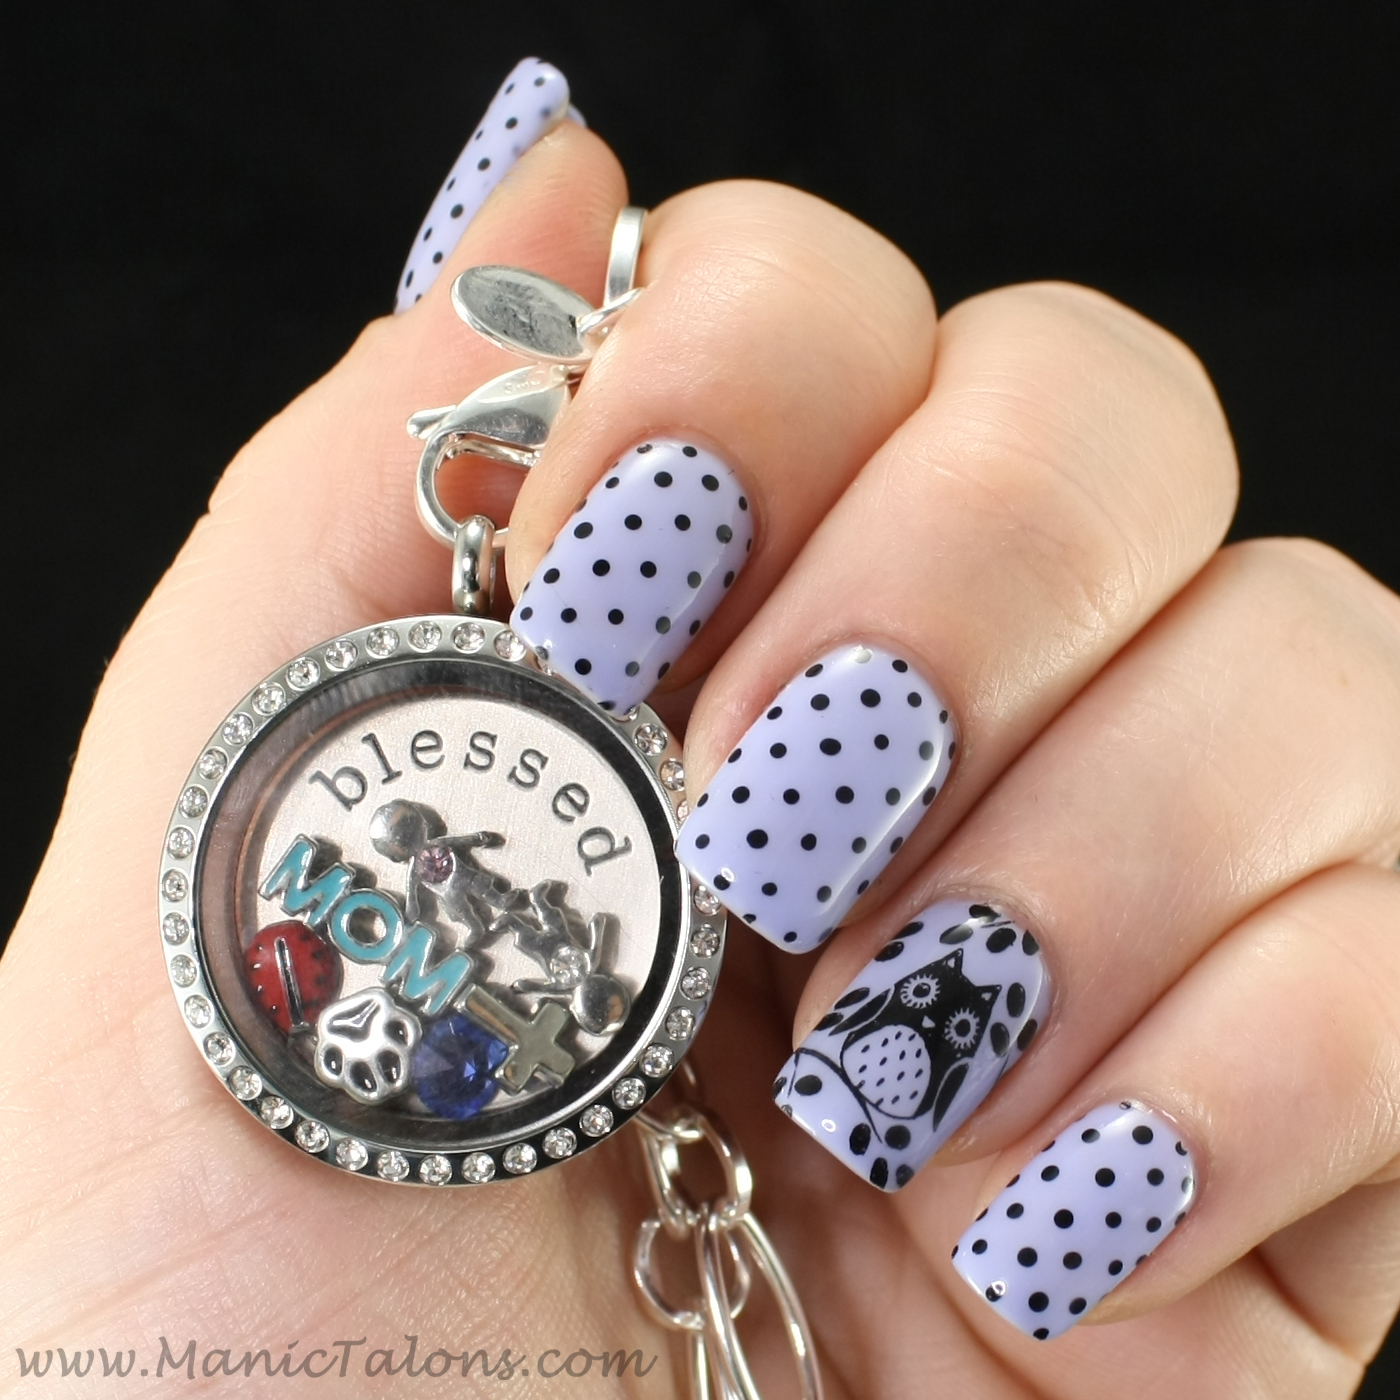
Origami Owl is a company that allows you to build your own "Living Locket" that combines the beauty of a locket with the customization of a charm bracelet.  My husband did a wonderful job of choosing charms that represent the things I love.  The puppy paw is for my work with Boston Terrier rescue.  The two boys represent my children (with their birth stones).  The blue gem is my husband's birth stone.  The lady bug for good fortune.  The Mom charm for my wonderful mother who is also my best friend.  The cross because I always wear a cross as an outward representation of my faith.  And finally, the plate in the back that says "blessed" because I am clearly blessed.  :)
Origami Owl inspired Nail Art

Naturally, I had to do a little nail art inspired by my locket.  Details to follow.
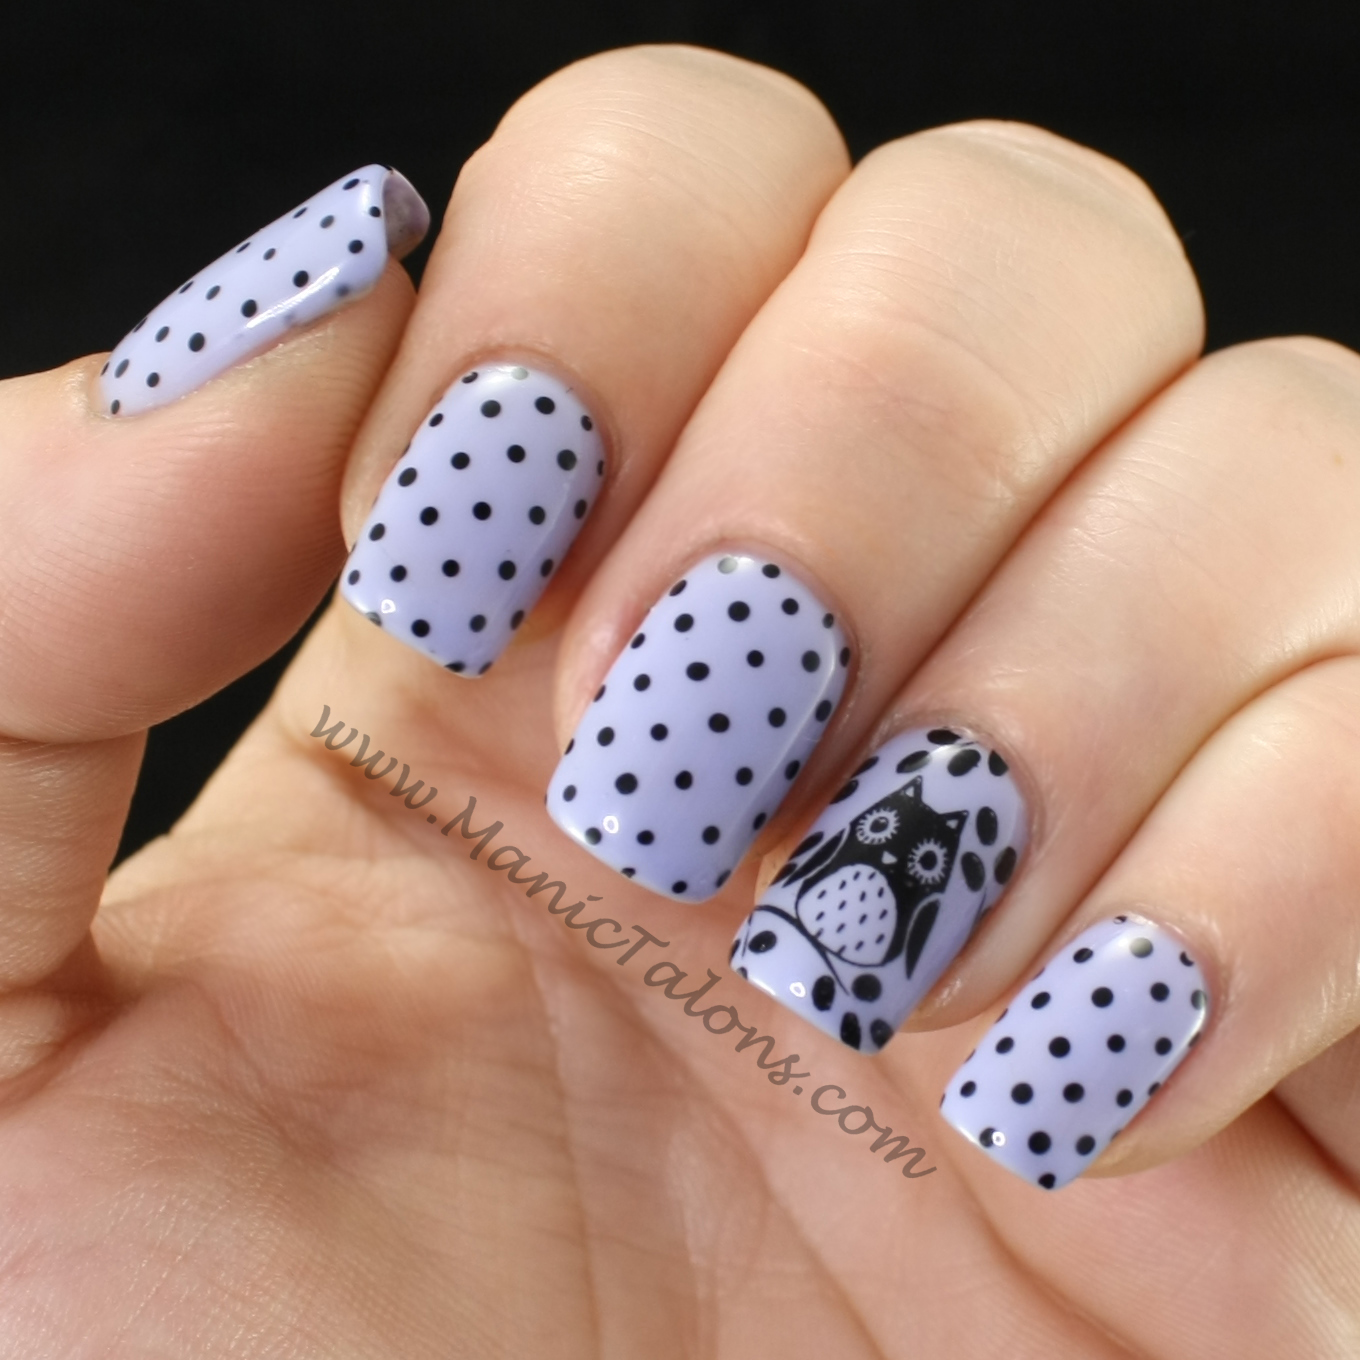
Owl Stamping Nail Art

The base color for this mani is Ink Pure Bliss. Pure Bliss is a gorgeous, lavender (or maybe periwinkle?) pastel cream.
Glam and Glits Ink Pure Bliss Swatch

I then stamped the owl image from Pueen 40 using Mundo de Unas black.  The dots are freehand, also with Mundo de Unas black. Please excuse the staining on my hands in these pictures.  I was playing around with a few stamping plates, and black polish is known for staining your skin.

Do you love the Origami Owl locket as much as I do?

~Michelle

*Note: The Origami Owl links above will direct you to the webpage of my Origami Owl Representative. I do not receive compensation if you purchase through her link. She, however, will receive commission on any purchases. You may also visit Origami Owl directly by clicking here.  The Ebay affiliate link for Pure Bliss will direct you to a seller I have personally purchased from and trust.
Read more ...

Tuesday, January 7, 2014

L'Oreal Colour Riche Gold Dust: Rough Around the Edges

Affiliate Links Purchased by Me

Hello Loves. I'm deviating from the gel swatches today to show you my newest love.  Loreal Colour Riche Gold Dust Rough Around the Edges.  This one caught my eye while shopping the other day, and I just couldn't leave it behind.  I'm a little behind the rest of the polish world when it comes to textures.  I didn't think I would like the rough feel, so I held out and avoided buying one to try.  I gave in and picked one up a few weeks back, and now I'm hooked.
I have only tried a few textures from different brands so far, and I haven't loved them all.  But this one...I predict this one will be used as an accent in many of my manicures in 2014.  I love the black base with the silver glittery finish, and I was shocked that it only needed two coats!  I really like this collection so far!
Loreal Rough Around the Edges Swatch

Loreal Rough Around the Edges Swatch

This is an angle I likely won't show very often thanks to my crooked middle finger.  That nail gives me fits!  I never know whether to shape it so that it the edge is straight when my fingers are extended or so that the edge is straight when posed with the polish bottle.  Since most of my pictures are with the bottles, I tend to shape it for that.  lol

Loreal Rought Around the Edges Swatch

I think I'll go back and get a few more from this collection.  If my memory serves me, they all have that added sparkle, and I really like the formula!

~Michelle

Read more ...