Showing posts with label Flowers. Show all posts

Friday, September 19, 2014

Sweet Dots and Pearl Flowers (A BPS Review)

Press Sample Affiliate Links

Hello Loves!  Just a quick and simple mani today.  I'm having a hard time accepting that fall is right around the corner.  My nails really want to be ready for spring!
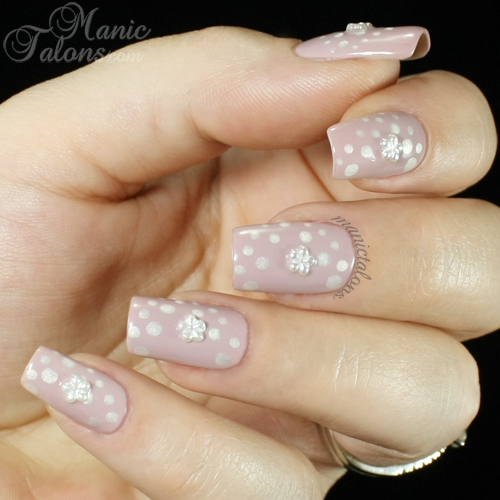
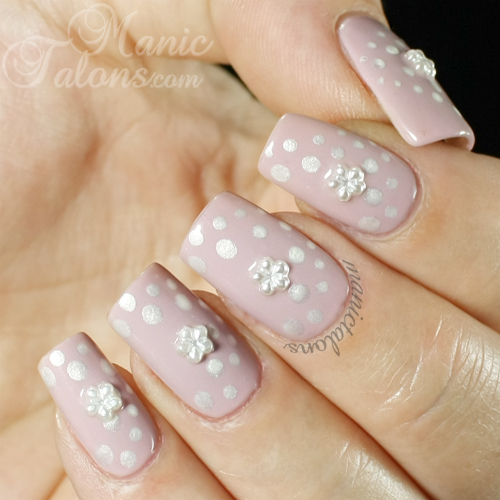
Sweet Dots and Flower Manicure with Born Pretty Store flowers

For this mani, I started with a base of Daisy Duo Classical Violet.  I haven't shown you this one yet, but I'm wearing it right now as part of a wear test so swatches will be coming soon.  ;)  I then added a few dots with Milani High Speed Fast Dry polish in Instant Pearl.  Finally, I finished it off with these precious pearl flowers from Born Pretty Store.
Sweet Dots and Flower Manicure with Born Pretty Store flowers

Aren't the little flowers just adorable?  They make me think of the flowers you see on hair pieces for flower girls in weddings.  So sweet! 

Born Pretty has several flower pieces like these and other styles to choose from. Be sure to check out some of Born Pretty Store's other nail art items too!  Use code MANYX31 for 10% off and free shipping. 

~Michelle

*The flowers featured in this post were provided by Born Pretty Store for my honest review.  This post uses Born Pretty Store and Amazon Affiliate links.  Purchases through these links generate commissions that help fund this site.
 
Read more ...

Friday, August 15, 2014

Pretty Little Sunflowers with Couture Gel Polish (pic heavy)

Press Sample

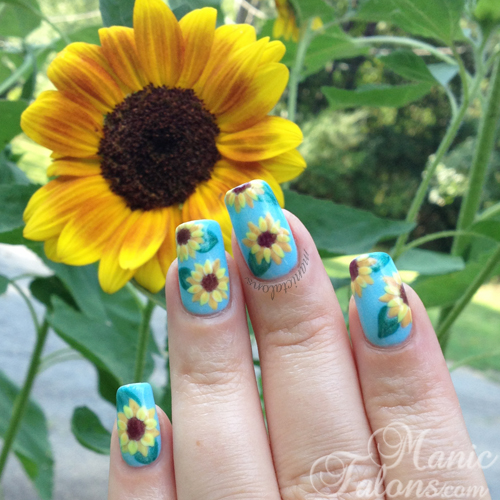
Hello Loves.  I have a very special mani to show you today.  Sunflowers!  Ok, so why is a sunflower mani so special?  Because this mani was inspired by the sunflowers my little man planted for me (with a little help from his Daddy).
Sunflower Manicure with Couture Gel Polish

I apologize for the poor photo quality in the pic above.  I didn't feel like disconnecting my camera and lugging it outside, so I took a cellphone shot.  Color is way off, but I couldn't resist including a photo of my nails and my sunflowers!  Here's another cell phone shot of my pretty little sunflowers.  They're blooming like crazy and my little man is so excited to see how many more have bloomed each morning.
Sunflowers

Ok, ok, back to the mani.  There's something else that makes this one special.  It is done in 100% gel polish!  Couture Gel Polish, to be exact.  It would have been much easier to do with acrylic paint, but I wanted to see if I could do it completely in gel.  Sometimes a good challenge is just what a girl needs to get out of a creative dry spell.  ;)  Wanna see a better shot?
Sunflower Manicure with Couture Gel Polish

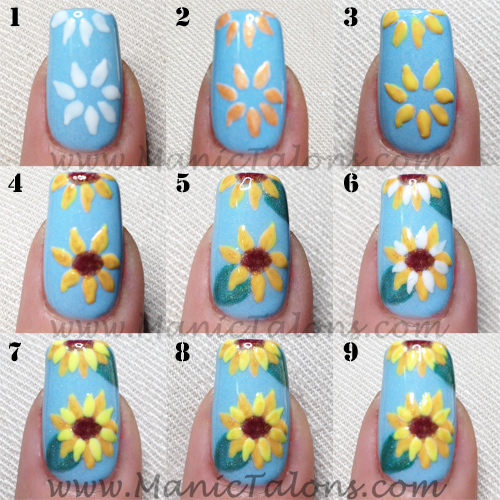
Since I knew this one was going to be quite involved, I took a series of step by step photos (again with my cell phone, so they aren't color accurate at all).  Wanna see it?
Gel Polish Sunflower Manicure Tutorial

Another fun fact about my pretty little sunflower mani:  I used 8 different Couture gels.  Can you see them in the photo above?  How about a step by step?  The base color is Couture Milano (swatched previously here).
  1. Using a thin brush, build the first layer of petals with Couture Ooh La La French (swatched previously here) and cure.
  2. Color in the petals with Couture Turning Heads (swatched below) and cure.
  3. Go over the petals again with a thin layer of Couture Tres Chic (swatched previously here) and cure.
  4. Fill in the centers of the sunflowers and add shading to the center of the petals with Couture Front Row Seat (swatched below).  Cure.
  5. Add leaf shapes with Couture Aloe Very and outline them with Couture High Roller (both swatched previously here).  Use the nail art brush to blend the two greens a bit and soften the lines.  Dab Couture Moody Model (swatched below) in the centers of the sunflowers to deepen the color and add dimension.  Cure.
  6. With Couture Ooh La La French, add a row of smaller petals that are staggered with the original petals.  Cure.
  7. Go over the new petals with Couture Tres Chic.  Cure.
  8. Add details to new petals with Couture Turning Heads.  Cure.
  9. Top coat and enjoy.  Whew!
Want to see the final mani again?  I'm super happy with the shading in the petals.  I wasn't sure it was going to work out, but adding the top coat really blended the colors and created that nice inward curve.
Sunflower Manicure with Couture Gel Polish

I especially love the ring finger.  The flower and petal placement is best on that nail, I think.  I took a closeup.  Want to see it?  You can see the added dabs of Moody Model in the centers of the sunflowers much better in this shot too. 
Sunflower Manicure with Couture Gel Polish

Can you tell I'm super proud of these?  lol  I've had this mani planned for a while now, but I just got around to trying it.  Honestly, it intimidated me a little.  Or a lot.  I'm glad I finally gave it a shot.  I love it so much I don't want to take it off!  So I'm now walking around with one hand full of sunflowers and the other is purple with a champagne accent nail.  I can't remove the purple yet since I'm in the middle of a wear test, so I guess I'll just be mismatched for a while.  I'm sure B's teachers will get a kick out of my crazy hands when I drop him off for his first day of Pre-K this morning.

Oh, and while I'm at it, how about swatches of the colors in this mani that I haven't shown you before? I apologize for the length differences.  These were taken as part of my swatching arrangement with Couture prior this year.

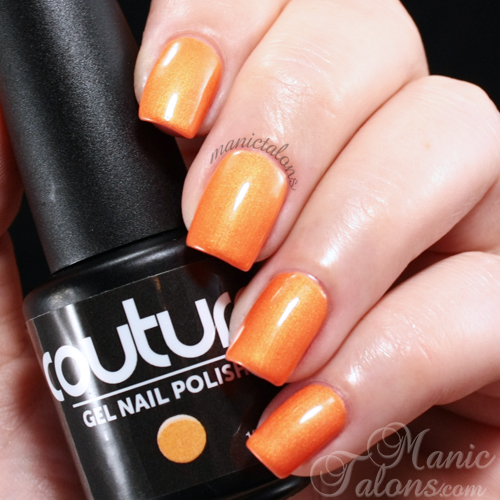
Couture Turning Heads is a shimmery, almost frosty orange.  This one is opaque in 2-3 coats.  I did have a few issues with streaks in the shimmer, but another super thin coat would easily smooth them out.  I apologize for the extra pink skin tone in this photo.  I had to adjust my color settings to get my camera to capture the orange accurately.  ;)
Couture Gel Nail Polish Turning Heads Swatch

Couture Front Row Seat is a beautiful, shimmer packed bronze.  This one is also opaque in 2-3 coats but applied beautifully. 
Couture Gel Polish Front Row Seat Swatch

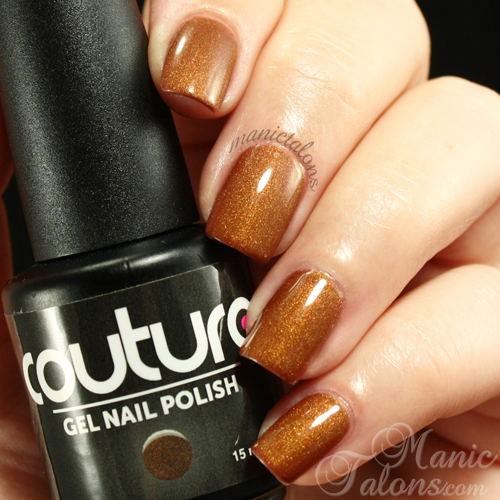
Finally, Couture Moody Model is an awesome, red toned brown with a golden shimmer.  This one is opaque in 2-3 coats as well.  Application was average with the exception of a little bit of shrink back on the first layer.  It corrected itself on the second coat, so there was no need to flash cure for this one.  As usual, I swatched three coats.
Couture Gel Polish Moody Model Swatch

I'll leave you with one last shot of my pretty little sunflowers.  Because, well, you know I have to include my standard pose for nail art.  ;)
Sunflower Manicure with Couture Gel Polish

~Michelle

*The gel polishes featured in this post were provided by Couture Gel Polish as part of a swatching arrangement.  All opinions expressed on the colors featured are my own, unbiased opinions.

Read more ...

Monday, August 11, 2014

Bio Seaweed Gel Sunshine and Celebration

Press Sample


Hello Loves!  I have two fun Bio Seaweed Gel Swatches to show you today - Sunshine and Celebration from the BSG Unity Line.  With names and shades like these, you know I had to do a little nail art to go along with it!  I'll get to the art in a few minutes.

BSG Unity Gel is a 5-free, one step gel polish that can be worn alone (no base, no top, no need to cleanse) or can be worn as a three step gel with base and top.  Bio Seaweed Gel recommends using a separate base and top when applied to hands for lasting results, but pedicures are quick and easy with just two coats of color.  It is LED compatible and currently comes in 114 colors with more shades being released seasonally.  The Unity Gels retail at $18.00 each and can even cure in natural sunlight, no lamp required (I haven't tested the sunlight cure yet, but will do so over the next few weeks).  Check out my full review of Unity Gel with and without a separate base here.

Ready to see some swatches?  Sunshine is a gorgeous, bright yellow cream.  Application is smooth and I found this one self levels quite well.  I did need three coats for full opacity.  I did not use a separate top coat on the swatch below in order to show the shine when used as a one step gel.
Bio Seaweed Gel Unity Gel Sunshine Swatch

Celebration is a beautiful, medium purple cream.  Like Sunshine, Celebration also self levels well and applies nicely.  I could have gotten away with two coats for this one, but I felt that three were needed for optimal coverage.  Again, this is without a separate top coat.
Bio Seaweed Gel Unity Gel Celebration Swatch

When I think of "sunshine" and "celebration", I think warm and tropical.  So I couldn't resist breaking out a few of my other Unity Gels for a little nail art.  I may have ventured into Lisa Frank territory again with this design, but I do like how it turned out.  What do you think?  Did I hit my mark?
Bright Florals with Bio Seaweed Gel Unity Gel

For this mani, I started with a vertical gradient with Sunshine and Babe (swatched here).  Babe is much more vibrant than it appears in these photos.  Putting it beside Sunshine freaked my camera out.  I guess it was a little too bright and cheerful for my camera sensor.  I tried to get a shot that captured both Sunshine and Babe accurately, but as soon as Babe got within color range, Sunshine started to glow.  lol  I used my BSG Professional Gel Brush to create the gradient by dipping one corner in Sunshine and the other corner in Babe and blending them on the nail.  Click here for a great tutorial on this method by Nails by Shannon.

I then broke out my dotting tools and added some simple flowers with Celebration and Bombshell (swatched here).  After curing the flowers, I added some random lines to add definition to the petals in the alternate color of the flower and dotted the centers with Sunshine and Babe.  Finally, I created gradient dots with Celebration and Bombshell by partially mixing two dots of gel on a pallet and picking up my dots from various sections of the mix.  Here's a closer look.  :)
Bright Florals with Bio Seaweed Gel Unity Gel

Be sure to follow Bio Seaweed Gel on Instagram and Facebook for weekly chances to win some Unity or 3-Step colors of your own!

Also, be on the lookout for a full review of BSG's No Sanding Base-1 for weak, damaged or dehydrated nails and the No Wipe Top Coat.  I can tell you that my first impression of the No Wipe Top Coat is simply to say "Wow".  If the shine holds up over time, I'm sold.  ;)  

~Michelle

*The gel polishes featured in this post were provided by Bio Seaweed Gel for my honest review.

Read more ...

Friday, July 11, 2014

I'm Dreaming of Sun, Sand and Something Tropical!

Hello Loves!  I have a super fun summer mani to show you today.  This one started out at midnight on a Saturday night and had me cursing by 1:00 am, but the end result is fabulous if I do say so myself!  I had originally planned to do an Independence Day manicure when I started, but it took on a life of it's own and I just went with it.
Tropical Flowers Manicure, Revel Nail Gel Polish Kodie, Couture Gel Polish

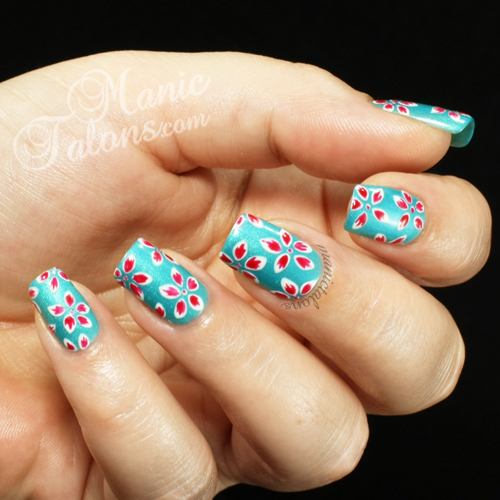
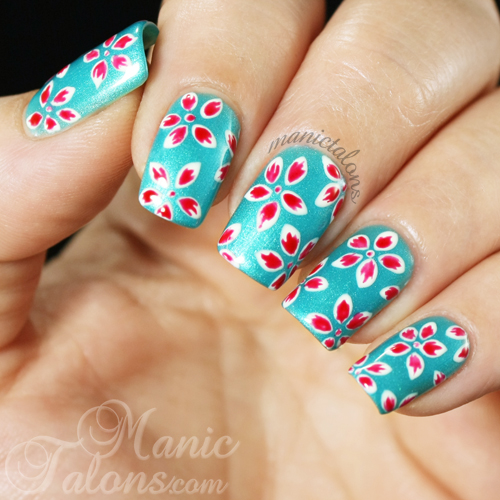
I started with a base of two coats of Revel Nail Gel Polish in Kodie (swatched here).  I adore this frosty blue!  I then free-handed the white petals with Couture Ooh La La French (swatched here).  Once those were cured, I went back with a super fine detail brush and added the red accents to the flowers with Couture Fierce (swatched here).  This is the part that had me cursing.  Adding fine details with a brush the width of an eyelash to the nails on my dominant hand was quite the challenge!  I finished the first hand in 30 minutes.  The second hand took me an hour and a half (including breaks to make a pot of coffee and find a few toothpicks to hold my eyelids open).  Was it worth it?  I think so.  I wore this one for a week and received dozens of compliments on it.
Tropical Flowers Manicure, Revel Nail Gel Polish Kodie, Couture Gel Polish

Want to see a closeup of the flowers?  Yes?  No?  I'm super proud of them, so I'm going to show you either way.  lol 
Tropical Flowers Nail art, Gel Polish

I honestly think the only way I could love this mani more is if I had a beach to wear it to that week.  This girl needs a vacation with sun and sand!

~Michelle

Read more ...
Thursday, January 30, 2014

Not One Stroke Flower Nail Art

Purchased by Me

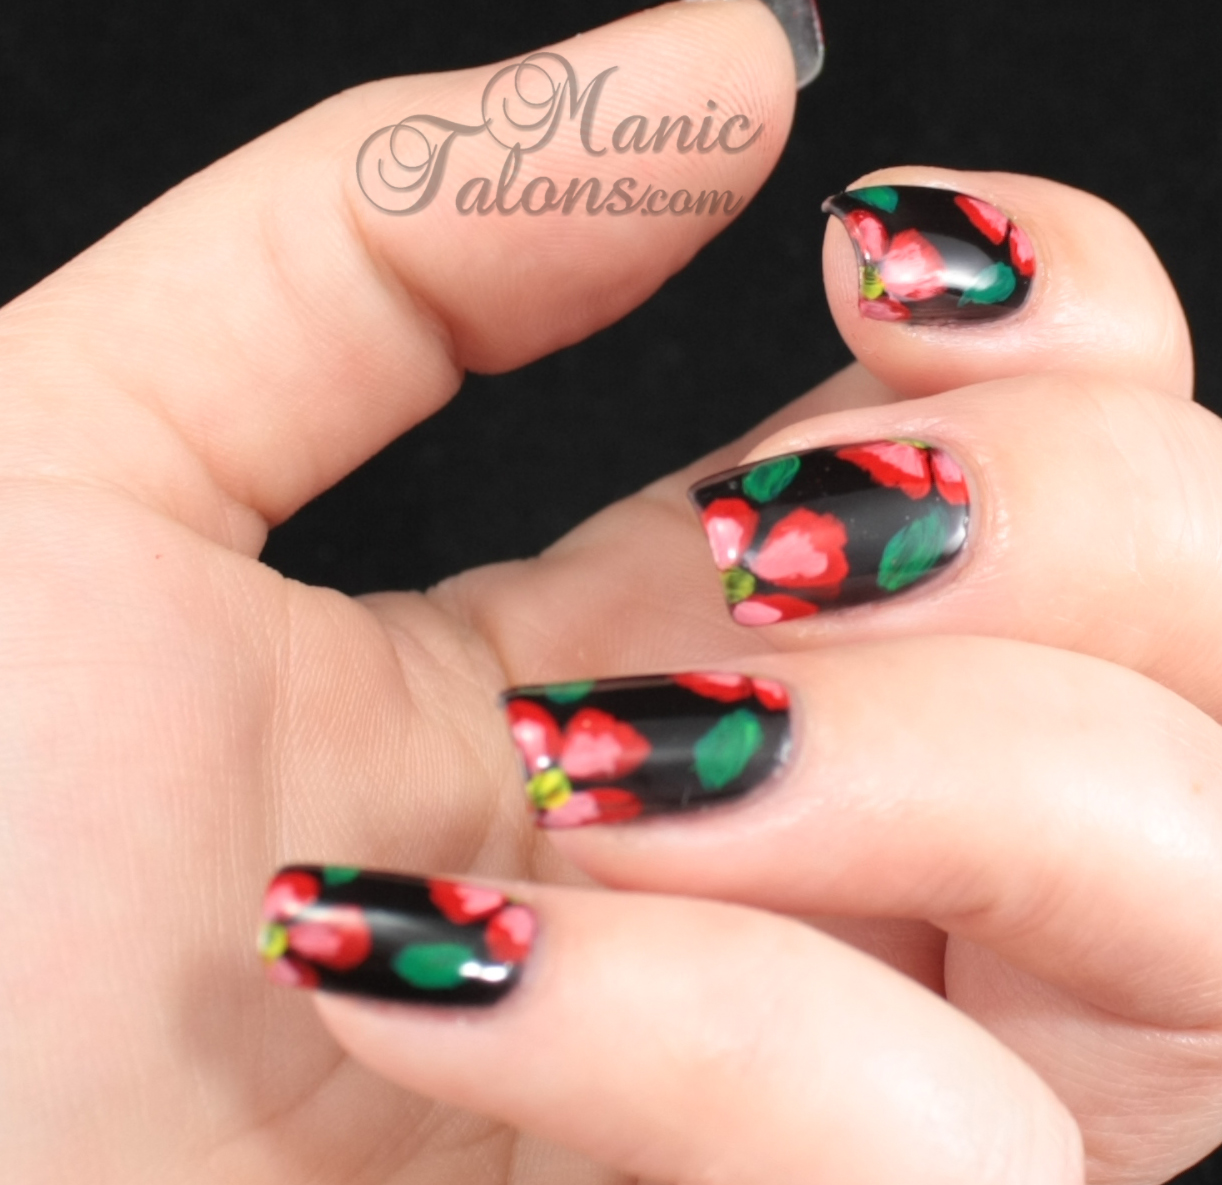
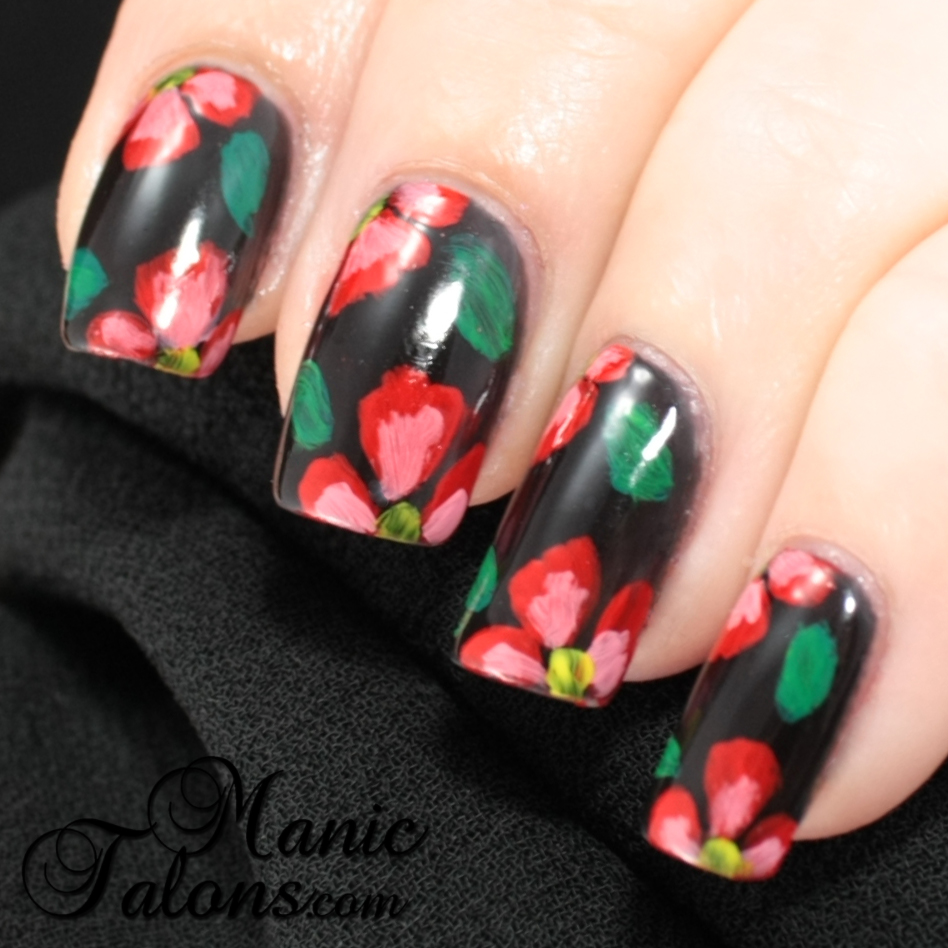
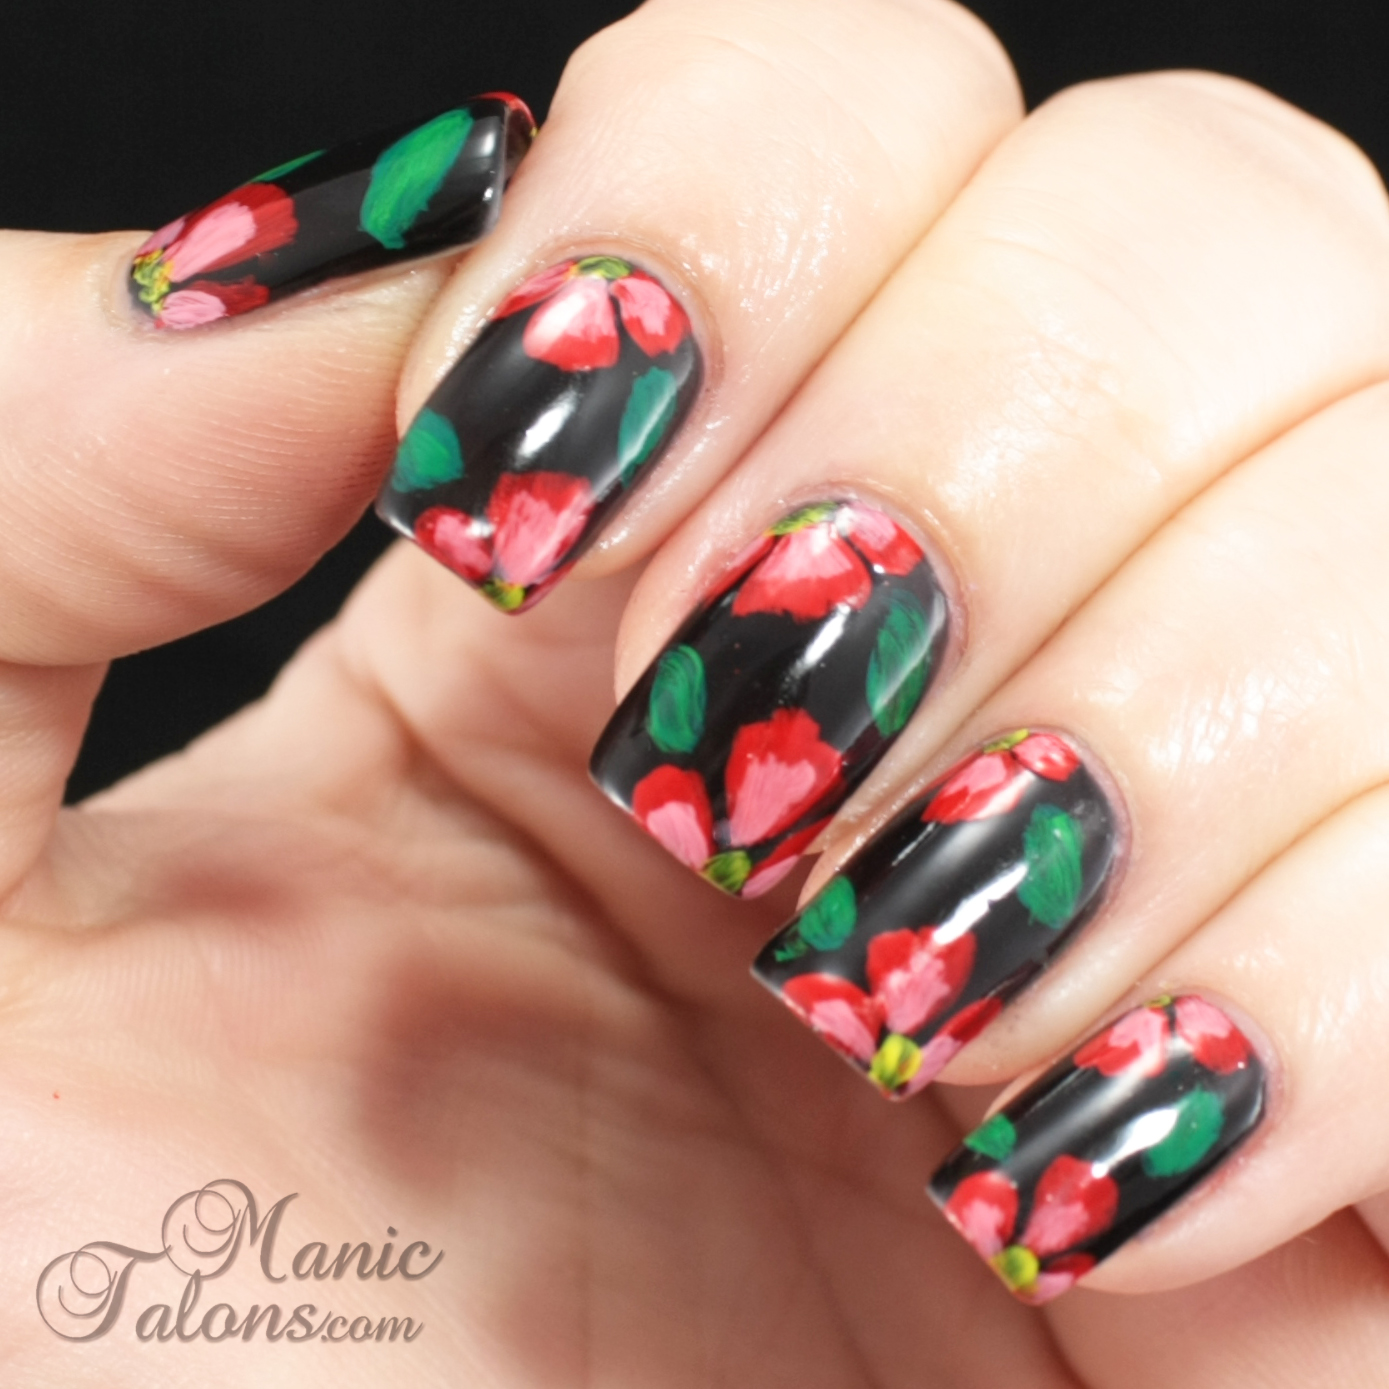
Hello Loves.  So I got the bright idea that I would do a one-stroke flower manicure.  I have tried this technique a few times before and failed, but I was feeling brave so...yeah, I failed again.  I'm convinced after watching a million youtube tutorials that my brush is to blame.  After getting frustrated and almost throwing the brush across the room, I decided to say the heck with it and go back to what I know: layered flowers.  I absolutely love how this one turned out.
Freehand Acrylic Flowers Nail Art

For this mani, I started with a base of Couture Gel Nail Polish Little Black Dress.  This is my go-to black gel.  I love the depth of the polish and that it is completely opaque in three thin coats.  I have swatched this one before, but since it was before my new lighting setup, I snapped another picture. :)
Couture Gel Nail Polish Soak Off Gel Polish Little Black Dress Swatch

I then used a thin nail art brush and acrylic paint to freehand the flowers.  I started with the red petals and then went back and added the pink to the inner portions and dabbed a little yellow on for the center of the flowers.  The leaves are a dark green acrylic paint with a lighter green layered on top to highlight parts.  Simple, yet so pretty.  :)
Freehand Acrylic Flowers Nail Art

This mani is NOT topped off with a gel top coat.  I used Oh So Wet regular polish top coat instead.  It is a big of a an experiment.  The last time I did a manicure with acrylic paint sealed with a gel top coat ended up being a disaster.  Once the gel started to wear thin on the tips, water was able to penetrate the layers and the acrylic paint turned to mush.  The mani only lasted a few days before the top layer lifted and chipped off.  Since I have found that RNP wears like iron over a complete SOG mani, I'm hoping this one will last without the gel top coat over it all.  I've been wearing this one for 5 days now and so far it still looks perfect!  I did apply a gel top coat over the black base before the art work.

Here are a few closer shots.  :)
Freehand Acrylic Flowers Nail Art

~Michelle

Read more ...