Showing posts with label Doticure. Show all posts

Wednesday, June 17, 2015

Neon Dots with Girly Bits Cosmetics

Press Sample Affiliate Links

Neon and Nude with Girly Bits Lacquer

Hello Loves!  I have a simple doticure to show you today.  I know I've mentioned before that I am really NOT great at applying polish.  Gel polish, sure.  But lacquer kicks my tail every time.  So I've been playing with lacquer a little more lately and this is the result.  :)  To create this look, I used three Girly Bits Cosmetics Lacquers and my Out The Door Northern Lights top coat.

Lets take a look at the polishes that went into this simple nail art design, shall we?

The base is this gorgeous nude with golden shimmer called I'm Not As Think As You Drunk I Am.  I adore this nude, even though it might not be the best match for my skin tone.  The golden shimmer make it super fabulous!  Application was easy enough in two coats.
Girly Bits I'm Not as Think as You Drunk I Am Swatch

The orange dots are a beautiful, neon orange cream called Thump Your Melons.  I freaking adore that name!  lol  Application was a little tricky for me on this one.  Neons kill me.  I ended up swatching three coats, but someone who is better at applying lacquer than I am could easily get away with two.
Girly Bits Thump Your Melons Swatch

The green dots are an amazing neon green called It's Hoop To Be Square.  I'm not usually a green fan, but after seeing a few swatches of this one, I just couldn't resist.  Application was actually pretty easy for me this time.  I swatched two coats below.
Girly Bits Its Hoop To Be Square Swatch

Here's one more look at the final design.  So simple, but effective, I think.  I love how the orange and green pop over the nude base.  :)
Neon and Nude with Girly Bits Lacquer

If you're a lacquer fan and haven't tried Girly Bits Nail Polish, I highly recommend it!  This is one of the few brands that I completely love and find easiest to work with as a lacquer novice.  :)  Be sure to check out these and the other awesome polishes available on the Girly Bits Cosmetics website.

~Michelle

*The lacquers featured in this post were provided by Girly Bits Cosmetics for my honest review.  This post uses Amazon Affiliate links.  Purchases through these links generate commissions that help fun this site.  All other links within this post are courtesy links and do not benefit ManicTalons.com.

Read more ...

Friday, September 19, 2014

Sweet Dots and Pearl Flowers (A BPS Review)

Press Sample Affiliate Links

Hello Loves!  Just a quick and simple mani today.  I'm having a hard time accepting that fall is right around the corner.  My nails really want to be ready for spring!
Sweet Dots and Flower Manicure with Born Pretty Store flowers

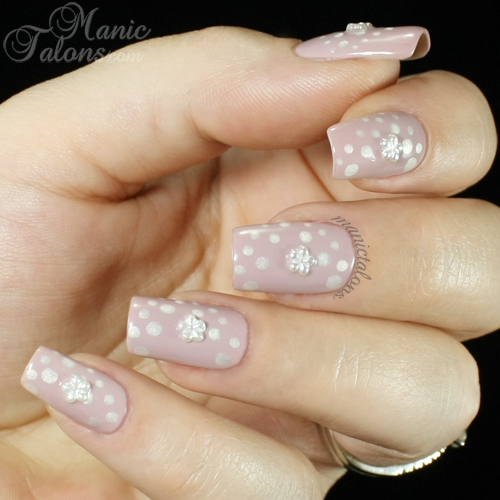
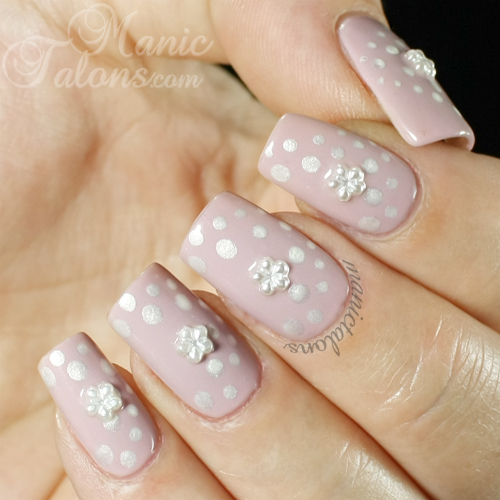
For this mani, I started with a base of Daisy Duo Classical Violet.  I haven't shown you this one yet, but I'm wearing it right now as part of a wear test so swatches will be coming soon.  ;)  I then added a few dots with Milani High Speed Fast Dry polish in Instant Pearl.  Finally, I finished it off with these precious pearl flowers from Born Pretty Store.
Sweet Dots and Flower Manicure with Born Pretty Store flowers

Aren't the little flowers just adorable?  They make me think of the flowers you see on hair pieces for flower girls in weddings.  So sweet! 

Born Pretty has several flower pieces like these and other styles to choose from. Be sure to check out some of Born Pretty Store's other nail art items too!  Use code MANYX31 for 10% off and free shipping. 

~Michelle

*The flowers featured in this post were provided by Born Pretty Store for my honest review.  This post uses Born Pretty Store and Amazon Affiliate links.  Purchases through these links generate commissions that help fund this site.
 
Read more ...

Wednesday, August 6, 2014

Sweet Summer Strawberries with Gelaze Strawberry Fields

Affiliate Links

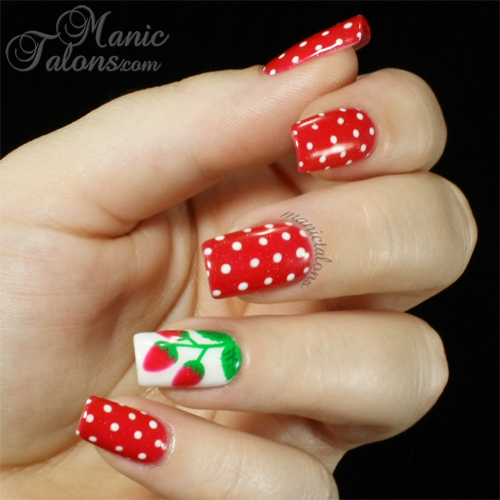
Hello Loves!  I have a sweet, summery manicure to show you today.  Strawberries!  This manicure speaks to me for many reasons, but mostly because it reminds me of my sweet Grandmother.  She absolutely loved strawberries.  Her entire kitchen was decorated with them.  :)  I used her kitchen (as I remember it) as my inspiration for this design.
Strawberry Nail Art with Gelaze Strawberry Fields

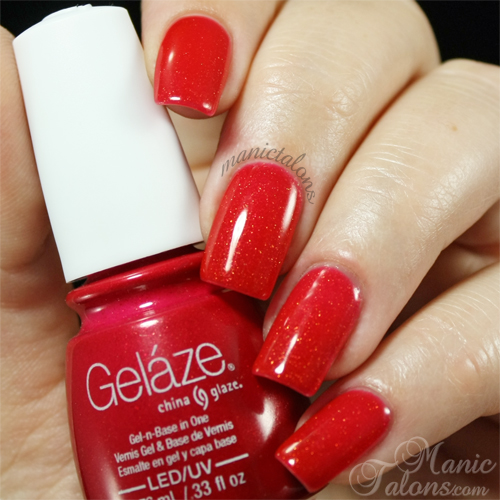
The base for this manicure is Gelaze Strawberry Fields with an accent nail of Gelaze White on White (swatched and reviewed here).  Strawberry Fields is a beautiful, shimmer packed red with slightly pink tones.  The jelly finish causes this on to shrink back a bit, so I did have to flash cure the first layer.  The second and third applied nicely, though.
Gelaze Strawberry Fields Swatch

I then freehanded the strawberry shapes with Strawberry Fields on the White on White accent nail and added leave and stem details with Mundo de Unas green.  I mixed a small dot of Mundo de Unas black with the green for the detail on the leaves.  I then finished off the other nails with dots of Gelaze White on White.  The end result feels a little retro, no?
Strawberry Nail Art with Gelaze Strawberry Fields

I'm off to enjoy wearing my strawberries and thinking of Grandma this week.  Be sure to check back on Friday...I'm working on editing swatches of the Bundle Monster Gel Polish Awakening Collection - more thermals!

~Michelle

*This post uses Amazon Affiliate Links.  Purchases through these links generate commissions that help fund this site.
Read more ...

Wednesday, July 23, 2014

A First Attempt at Nail Foils - Foiled Dots

Affiliate Links Press Sample

Hello Loves!  I posted an open invitation for my fans to share their manicures on my facebook page last week.  I was surprised to see several foil creations were shared, and it inspired me to get my foils out and give them a try.  I've had these in my nail art collection for a while but after reading how difficult they can be to work with, I never had the urge to play with them.  But seeing so many beautiful creations changed my mind.
Manicure with nail foil and Couture gel polish

For this look, I did a complete gel manicure with Couture Gel Polish London's Fog.  London's Fog is a beautiful, shimmery grey gel.  It is opaque in two coats.  Please excuse the difference in skin tone and nail length in the swatch photo.  This is one I took this winter when my nails were shorter and my skin was quite pale (not that it isn't pale now, but it is less transparent in the summer).
Couture Gel Nail Polish London's Fog Swatch

After I removed the tacky layer from the top coat, I applied nail foil glue to the entire nail on the ring finger and added dots of foil glue to the other nails.  Once the glue dried, I pressed the transfer foil sheets onto the glue, then peeled them back off leaving the foil behind.  I then added a layer of Couture Gel Top Coat to seal the foil.  I have had this foil in my collection for so long now that I honestly don't remember where I got it.  It was a small square that is enough foil to cover maybe 5 nails if I covered them completely.  I tried to find them online but didn't see anything that looks like them.
Manicure with nail foil and Couture gel polish

I would love to be able to tell you that foil is the easiest thing ever to use, but it completely wasn't for me.  My nails have such deep c-curves that the foil creased on the nail.  I had to go over the ring finger twice to get full coverage.  And the dots...those were interesting too.  On the middle nail, the foil actually pulled the glue dots off of the nail in several places.  So I had to dot those a few times to finally get the design to transfer.  My final thought:  Foil is difficult and something I really need to practice to master!

Have you played around with nail foils?  Any tips or tricks to share?

~Michelle

*This post uses Amazon Affiliate Links.  Purchases through these links generate commissions that help fund this site.  The polish featured in this post was supplied by Couture Gel Nail Polish for my honest review.  All other products used were purchased by me.

Read more ...

Friday, June 27, 2014

Sweet and Innocent Dots and Roses (a BSG Review)

Press Sample Affiliate Links

Born Pretty Store 3D Candy Color Rose Review

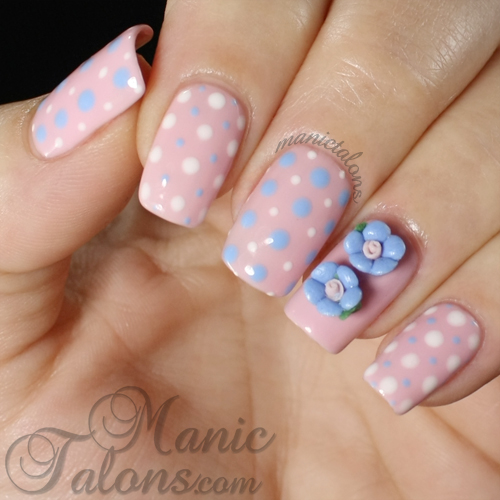
Hello Loves.  I recently decided I was in the mood for a sweet little doticure.  No surprise there, right?  I don't know what it is about dots, but I just love them.  Dots and roses are always a great combo in my mind.  I started with a base of IBD Just Gel Juliet and then added large and small dots with Couture Ooh La La French and Couture Naughty-Cal.  I had originally planned to freehand a few roses, but then I realized that these adorable acrylic roses Born Pretty Store sent me for review match perfectly to Juliet and Naughty-cal.

These roses are listed as "3D Nail Art Sticker Candy Color Rose Flower Nail Decoration".  That's one heck of a name, so I'll break it down for you.  They are little acrylic roses that can be applied to the nail with nail glue, acrylic or even gel.  They remind me of miniature versions of the butter cream roses that you see on cakes.  They aren't squishy or edible, but they do make me crave cupcakes. lol Below is the product photo from Born Pretty that shows the various styles and colors available. The ones I used for this manicure are in the center of the bottom row, and I now want them all!
10pcs 3D Nail Art Sticker Candy Color Rose Flower Nail Decoration

I was expecting these roses to be much larger, so I was pleasantly surprised when they arrived to see that they are quite small. I'm not afraid to go bold with my nail art, but I find that larger pieces get in the way when caring for young children. These do have a bit of height to them so they are raised off of the nail, but only slightly higher than your average large bow.  I took a side shot so you can see the height a bit better.
Born Pretty Store 3D Candy Color Rose Review

I attached the roses with a bit of super glue after curing the top coat and removing the tacky layer.  I then went around the seams at the bottom of the roses with a bit of top coat to seal them to the nail.  I did not top coat over them like I usually would because I didn't want them to be super shiny, but doing so will certainly help prolong the wear time.

Here's another shot of the final mani.  I was going for sweet and innocent.  What do you think?  Did I nail it?  ;)
Born Pretty Store 3D Candy Color Rose Review

If these roses aren't your style, Born Pretty has several others to choose from. Click here to check them out. Be sure to check out some of Born Pretty Store's other nail art items too!  Use code MANYX31 for 10% off and free shipping. 

~Michelle

*The bows featured in this post were provided by Born Pretty Store for my honest review.  This post uses Born Pretty Store and Amazon Affiliate links.  Purchases through these links generate commissions that help fund this site.
 
Read more ...

Friday, April 18, 2014

Happy Easter Everyone!

Press Sample Affiliate Links Purchased by Me

Hello Loves.  This is my last post before Easter, so I thought I would show you my official Easter mani for 2014.  Believe it or not, this is also my first ever skittle!  Crazy, right?
Easter Nail Art, Couture Gel Polish, Stamping Nail Art, Mundo de Unas

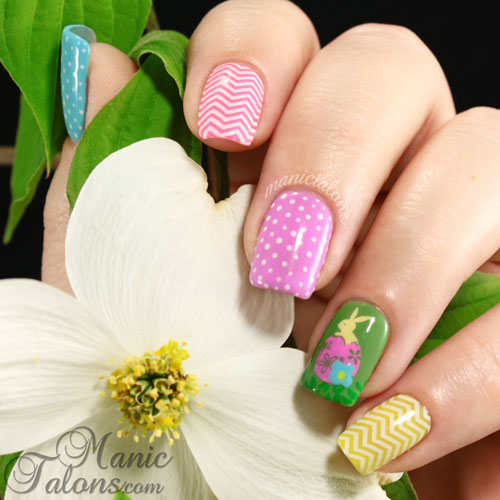
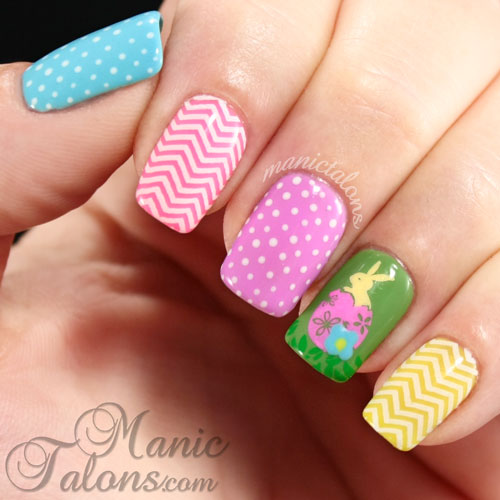
There is a lot going on with this one!  I started with a skittle base using Couture Gel Nail Polish.  The colors from left to right are Couture Spring Fling, Couture Come On Barbie!, Couture Glam Squad, Couture Big Spender, and Couture Tres Chic.  The colors are slightly off due to the art, but each of the names above will link to the previous posts with swatch pictures.  The only one I haven't shown you before is Spring Fling, but no worries.  I have a swatch to share of that one too.

Spring Fling is a beautiful bright blue cream.  It is very similar to Couture Milano but without the shimmer.  As you can see, it was the perfect color to use in my Easter skittle.
Couture Spring Fling Swatch, gel polish

Onto the Art:  I used a small dotting tool and Couture Ooh La La French to add the dots to the thumb and middle nails.  The chevrons on the index and pinkie nails are stamped in Mundo de Unas White using the chevron image from Bundle Monster 201.

Here's another shot of the complete mani where you can see the bunny a little better. 
Easter Nail Art, Couture Gel Polish, Stamping Nail Art, Mundo de Unas
The bunny image is from Bundle Monster 302, and it is stamped in Mundo de Unas Pink, Pastel Yellow and Green.  I applied all three stamping polishes to parts of the image at the same time.  I then carefully scraped and the result is this cute, multi color stamp.  The green did mix into the pink just a tad at the bottom of the image, but it was easy enough to touch up with the pink and a dotting tool.  I then used a dotting tool to fill in the open flower area in the stamp with Spring Fling and Tres Chic.  The flower turned out a little wonky, but that's ok with me.  Flowers are rarely perfect in nature anyway.  ;)

I hope everyone has a wonderful Easter!  I'm looking forward to hunting Easter Eggs and watching my boys light up as they go through their baskets this year.  Such joy for the little ones.  This will be my youngest son's first chocolate bunny experience, and you can bet my camera and I will be ready!

If you don't celebrate, I hope you have a wonderful weekend as well!

~Michelle

*The gel polishes used in the post were supplied by Couture Gel Nail Polish for my honest review.  All other products were purchased by me.  This post uses Amazon Affiliate links.  All non-Amazon links are not affiliate links and I receive no compensation for purchases through them.
Read more ...
Monday, April 14, 2014

Cute Little Dot Bunnies with OPI GelColor (Updated)

Affiliate Links

Hello Loves.  I decided to revisit OPI GelColor now that I have a Robart Paint Shaker to see if I like the formula better once really shaken.  So I borrowed a few colors from a friend and gave them a whirl for this Easter mani.
OPI GelColor, Gel Polish, Dot Bunnies, Easer Manicure

To create this mani, I started with a base of OPI GelColor Funny Bunny and added large dots of Suzi Says Feng Shui and Strawberry Margarita.  I then used a smaller dotting tool to drag the color up from the dots to form the ears.  Once the bunny shapes were cured, I used my small dotting tool again to add two smaller dots under the heads for the bow ties and pulled the corners down to form slightly triangular shapes.  So simple, but the result is adorable.  The other dots are, well, random dots with the smaller dotting tool. 

So back to my new-found appreciation for OPI GelColor.  I can honestly say that the Robart Paint Shaker made all the difference in the world in these polishes.  In the past, I have found OPI to be very difficult to apply with major shrinkage even after shaking them well by hand.  After a minute in the Robart, they went on much smoother, and I think I actually like the brand now!  Want to see the swatches of the polishes I used for this mani?

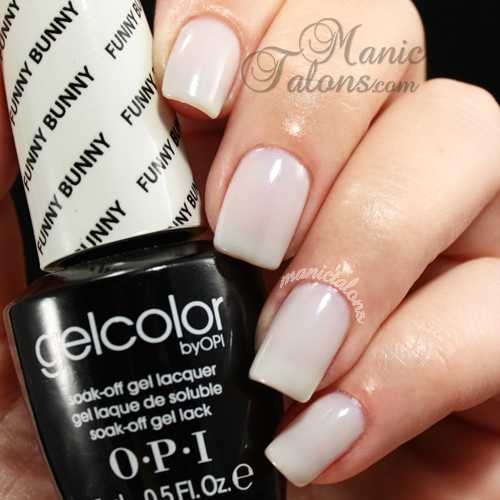
The base is OPI GelColor Funny Bunny.  Funny Bunny is a milky white with a blue pearlescent sheen that I couldn't capture to save my life.  It is very pretty, but subtle.
 OPI GelColor Funny Bunny Swatch, Gel Polish, Soak Off Gel

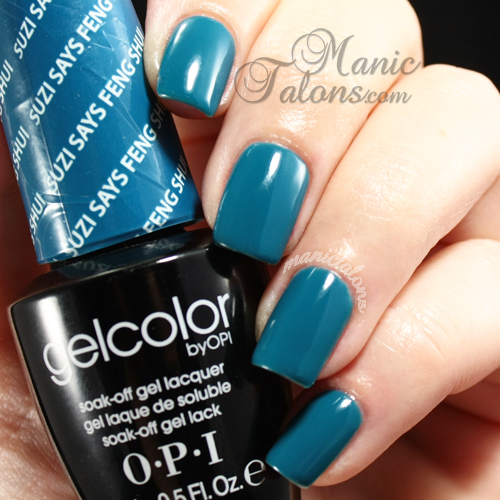
The blue dots and bunnies are OPI GelColor Suzi Says Feng Shui.  This is a teal leaning blue cream that is right up my ally.
 OPI GelColor Suzi Says Feng Shui Swatch, gel polish, soak off gel

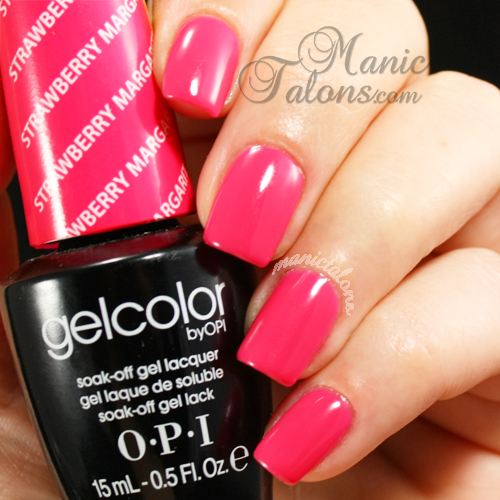
Finally, the pink dots and bunnies are OPI GelColor Strawberry Margarita.  This is a classic, medium pink cream.
 OPI GelColor Strawberry Margarita Swatch, gel polish, soak off gel

So, I now retract my previous comments that I am not a fan of OPI GelColor.  If you have any that you find to be a pain, shake the life out of them and see if you change your mind too.  Oh, and I am completely in love with my Robart.  It makes a world of difference with Gelaze too!  While made for hobby paint, it works really well on polish and was highly recommended by several of my online friends who also use gel polish.  I'm so glad I finally broke down and ordered it!  My previous polish shaker, aka my husband, was starting to complain.  ;)

Edited to Add:

By request, here's the video of the polish shaker in action that I shared on Instagram :)


~Michelle

*This post uses Amazon Affiliate Links.

Read more ...

Wednesday, April 9, 2014

Pastel Dots for Spring with LeChat Perfect Match

Affiliate Links

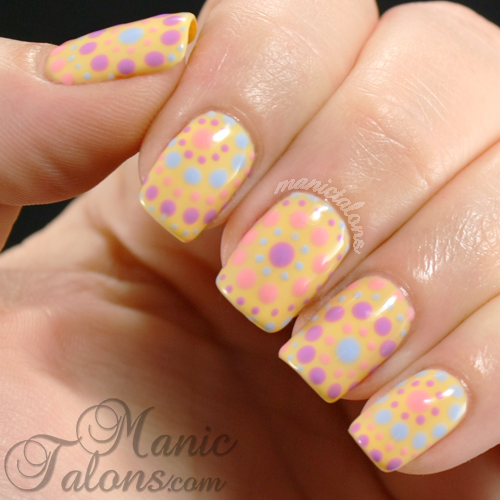
Hello Loves!  It officially feels like spring in GA.  The air is warm, the flowers are blooming, and the world has a nice, yellow powder film on every surface.   Welcome to pollen season in the South.  With Easter right around the corner, I couldn’t resist breaking out a few of my pastel Lechats and my dotting tools.
pastel dot manicure with LeChat gel polish

I know I have been on a dot kick lately, but I just can’t help myself.  I do love doticures.  They’re so simple yet look so fun when completed.  For this doticure, I used four LeChat Perfect Match colors:  Happily Ever After, Butterflies, Angel from Above, and Pink Lady.

The colors freaked out my camera just a little when they are all in the same picture, so please note that they aren’t quite right in these shots of the complete manicure.  The photo above was taken in direct sunlight with my iphone and is strangely closer to accurate.  The photo below was taken in my light box with my Canon.  My husband was playing around with my camera the other day and I suspect he changed a few settings that I failed to notice when I took these photos.  I apologize for the weirdness.  Same goes for the crazy skin tone in the swatch pictures, but the colors are right on my screen in those.
pastel dot manicure with LeChat gel polish


Now for the pure swatches.  Happily Ever After is my perfect pastel yellow cream.  I was asking around in a few facebook groups for yellow recommendations when a friend saw my question and knew this would be the right one for me.  Thank you, Lynda!  You were right!
LeChat Perfect Match Gel Polish Swatch Happily Ever After

Butterflies has been on my wish list forever it seems.  I’m not sure why I never ordered it myself, but Kerri saw it on my list and sent it to me completely out of the blue (or purple, as the case may be).  Butterflies is an incredibly pretty, red leaning purple cream.  Thanks Kerri!
LeChat Perfect Match Gel Polish Swatch Butterflies

This next color holds a very special place in my heart.  Angel From Above is a lavender leaning blue cream, and one of the few bottles of polish I have completely used up.  I almost didn’t have enough left to swatch!  I wore this color almost non-stop while I was pregnant with my youngest son.  I was high risk and never knew when it would be “time” so I kept my nails blue for over a month.  He turned 1 year old yesterday.  :)
LeChat Perfect Match Gel Polish Swatch Angel from Above

Finally, Pink Lady is a peachy pink cream that I picked up on a recommendation by Kim at Ten Little Canvases.  Kim has never steered me wrong when it comes to colors!
LeChat Perfect Match Gel Polish Swatch Pink Lady

Finally, one last freaked out picture of the complete mani.  Again, I apologize for the photos that are not up to my usual quality standards.  I almost didn't share them, but I love this mani too much to keep it to myself!
pastel dot manicure with LeChat gel polish

Looking for inspiration? Check out these gorgeous spring and Easter manicures as well :)


~Michelle

*This post uses Amazon Affiliate links. 
Read more ...
Wednesday, April 2, 2014

A Whole Lot of Dots with Daisy DUO

Press Sample Affiliate Links

Hello Loves.  When I swatched the last three Daisy DUO colors from Esther's Nail Center, I threatened to try them as a color block.  I still think they would make a gorgeous color block manicure, but that's not what I have to show you today.  I did attempt the color block, and I'm happy to report that I have conquered my fear of tape manicures.  Now I absolutely loathe them.  Hats off to those of you who do them and do them well!

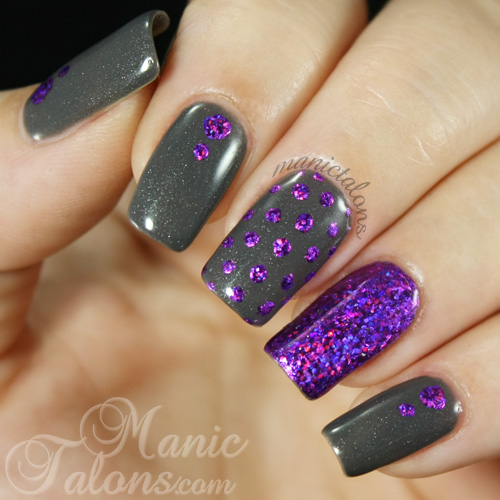
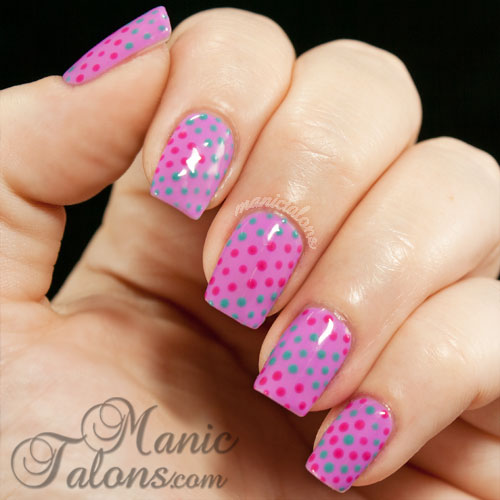
We all have our "thing" when it comes to nail art, and my thing is dots.  So I combined a Daisy DUO Purple Pride base with Bright Maroon and Gulf Stream dots to create this fun and funky doticure.  Check out last week's swatch post to see the colors on their own.  Note that I only used two coats of Purple Pride for this manicure, so when viewed directly beside the other colors the purple appears a bit lighter than it did in the swatch with three coats.
Daisy DUO Gel Polish

Excuse the staining around my cuticles.  I was playing with a few stamping designs before doing this one.  I thought I had removed all the polish from my skin, but apparently my camera can see what my eyes cannot.  Here are a few more shots.
Daisy Duo Gel Polish
Daisy DUO Gel Polish

Before I started writing this blog, I would frequently get questions about how I do my multi-color doticures.  I find that the trick is to use a two-way dotting tool so you can simply rotate the tool to easily switch colors.  In this case, I used the tool from this set with the same size tip on both ends.

So, it's not a tape mani or a color block, but I'm really happy with how it turned out. :)

~Michelle

*The polishes used in this post were supplied by Esther's Nail Center for my honest review.  This post also uses Amazon Affiliate links.
Read more ...